Restaurant Review: Wei Wei – A Taste of Taiwan

Wei Wei Review | Serious Crust by Annie FasslerWei Wei Review | Serious Crust by Annie Fassler

Since moving here from Seattle nearly ten years ago (wow that makes me feel old), there are a few things I really miss: the presence of all kinds of seafood on menus, oyster happy hours, and serious Chinese food. Don’t get me wrong, I love that Portland now has 1,327 ramen restaurants and that it seems like every week a new izakaya place has opened, but the comfort food of my youth was usually Chinese food. And I don’t mean greasy beef & broccoli or orange chicken – though there were phases when I loved the stuff. I mean hand shaven noodles, bamboo shoots, and those damn scallion pancakes.

When I heard that there were two new Chinese restaurants opening in sleepy little Sellwood, they immediately went on my “to try” list. And isn’t it nice when your restaurant list lines up with the restaurant lists of the ones you love? That’s exactly what happened when the stars aligned and we had my dad, stepmom, and Jonah’s mom all in town for lunch. So we scooted down to Sellwood to get our hands (or chopsticks, really) on some of the noodles at Wei Wei – A Taste of Taiwan.

The place is relatively small, with only 5 or so tables, and the menu is scrawled out on a large chalkboard wall when you enter. Have a seat and get yourself some starters. We enjoyed the scallion pancake (I told you, it’s a comfort food and one I simply cannot resist) and a special cucumber salad, which was perfect given the 80° day. Then it was time for the noodles – I recommend the beef noodle soup if it’s soup eating weather, or the house spicy noodles, which are dry (served without broth). Neither are that spicy, so I recommend reinforcing with some of the house made chili oil. Let’s talk about the noodles. Both of these dishes came with homemade wheat noodles, often cooked up by the owner’s parents in the kitchen. They are fat, perfectly soft, with the right amount of heft and bite to them. What they are is damn good. The beef soup was super savory, with broth as dark as the large pieces of braised beef it’s packed with. The beef comes apart with the pull of your chopsticks and is accompanied by pickled mustard greens, and spinach. The dry noodles are anything but, coated with a glossy sauce of minced pork, water chestnut, and shiitake mushrooms. Both dishes could have easily served 2 if not 3 people, so come hungry or with a friend.

Portland Dining Month 2016

Portland Dining Month 2016 | Serious Crust

Ned Ludd | Portland Dining Month | Serious Crust
Laurelhurst Market | Portland Dining Month | Serious Crust

The time has come. It’s March, which means I have combed through the dining month menus of 122 (!!!) restaurants in preparation for Portland Dining Month. This event is all about strategy – which places have you been itching to try, which places have multiple choices for each course, and which places give you the most bang for your buck. I’m here to help: below are my 14 picks for Portland Dining Month (in no particular order).

I also want to add that a donation to the Oregon Food Bank will be made for every reservation booked through the OpenTable links on the PDX Dining Month website! Sometimes we make our dining plans last minute, but I’m going to do my best to make reservations this year to make it count.

AviaryThis is one of my number one recommendations in Portland. I love the playfulness and creativity of the food here, plus the Asian influence doesn’t hurt. They’ve got two choices for every course, so you and your dinner partner can both get the dining month menu without ordering the same meal.

Clyde Common: I still haven’t made it into Clyde Common for dinner since chef Carlo Lasagna took over the kitchen, but I have heard fantastic things. Their dining month menu doesn’t look like anything crazy adventurous, but I bet it will be tasty.

Little Bird Bistro: Little Bird Bistro has a place in my heart – every meal I’ve had there has been pretty perfect, the space is romantic, and the service is great. They’ve got at least two options for each course on their dining month menu, and every single one looks like something I want to eat.

Paley’s Place: A Portland institution, Paley’s Place is reliably delicious. There’s only one option per course on their menu, but how can you go wrong with quail under a brick?!

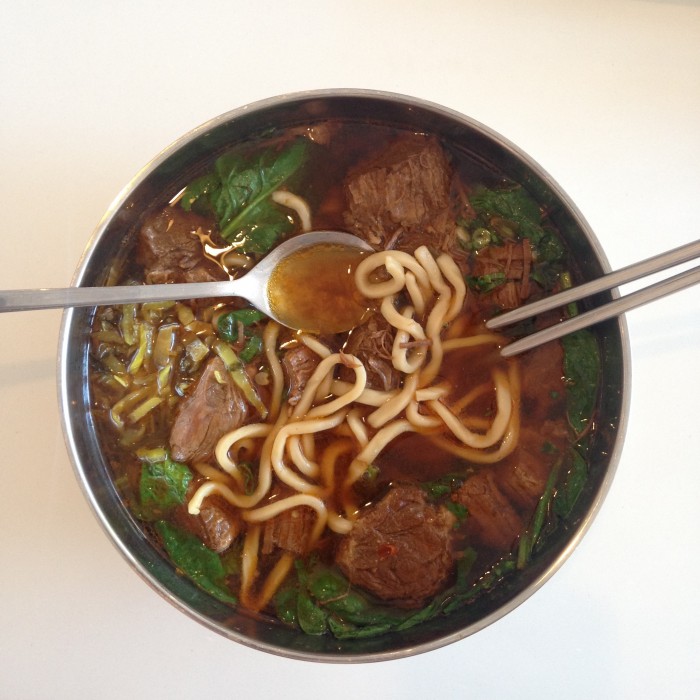
Smallwares: Serving “inauthentic Asian cuisine,” I love the way Smallwares combines traditionally Asian ingredients in quasi-Asian dishes. For example, their dining month entree is Sichuan cauliflower or pork ragu, pine nuts, gochujang, tarragon and scallions. I mean come on.

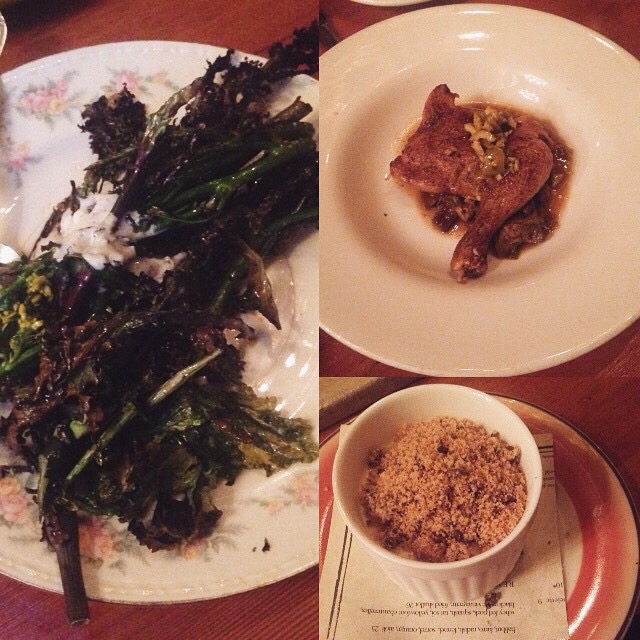
Ned Ludd: Another memorable Portland dining month meal I had last year was at Ned Ludd. I love the food at this spot – all cooked in their wood oven, featuring great local ingredients, and with lots of creative flavor combinations. Again, only one option per course (except for a vegetarian option for the entree), but you can bet it will be good.

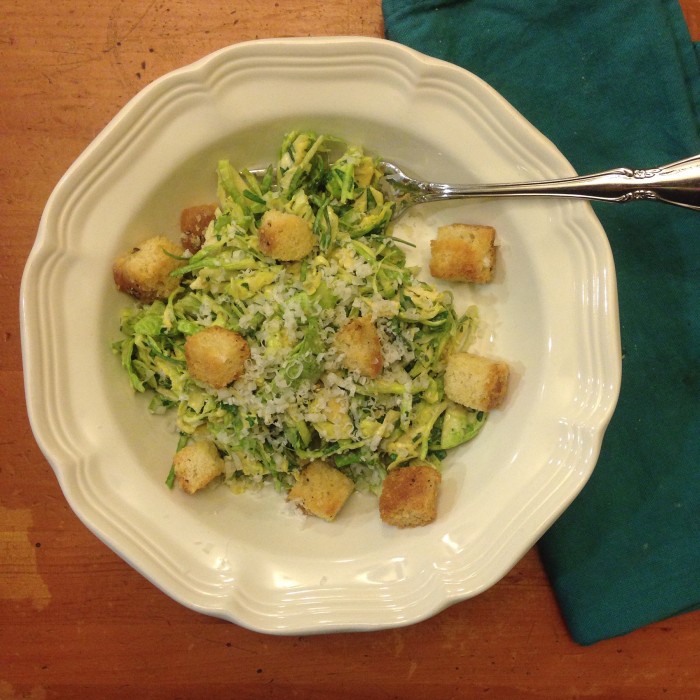
St. Jack: I’ll be honest, I’ll take any reason I can to make my way up to St. Jack. The space is beautiful, and the food and drink are lovely. For their dining month menu, they’re serving up a pork stew, with fried brussels sprouts to start and a chocolate pots-de-creme to finish.

Verdigris: I haven’t been to Verdigris yet, despite the fact that it’s only a few minutes walk from my house and that I’ve heard great things. Verdigris is offering up lots of options for dining month: 6 options for your started, 5 for your entree, and 2 for dessert, meaning lots of variation for you and your dining buddies.

Xico: Who can resist upscale Mexican food? Not me. While there’s only one option for each course on Xico’s dining month menu, each one looks GOOD.

Biwa: To be fair, it doesn’t look like you’ll necessarily be full after partaking in Biwa’s dining month menu. But their homestyle Japanese food is reliably delicious. So come with a buddy and share the dining month menu plus one or two other items, and I’m sure you’ll leave happy.

Ataula: Ataula remains one of the most fun nights out I’ve had in Portland. The food is something you don’t often find: traditional Spanish food, and the service and atmosphere are lively and fun. Plus, on their dining month menu you’ll find a mini version of one of their famous paellas.

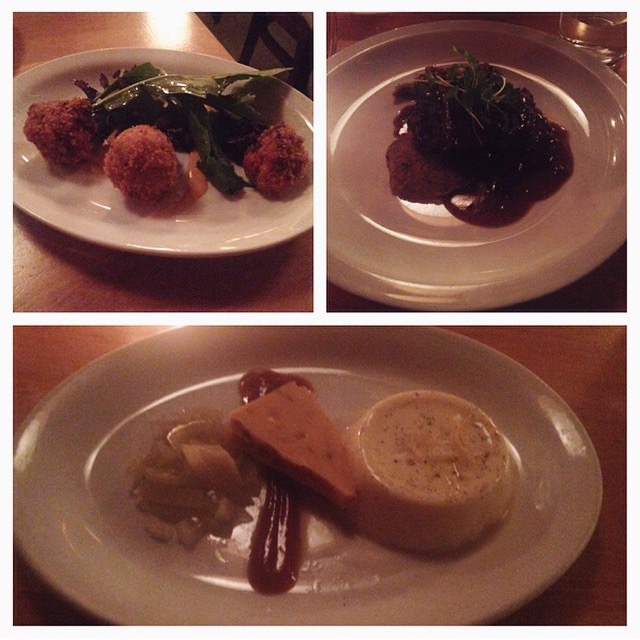
Laurelhurst Market: Laurelhurst Market was my final dining month meal last year (and my last meal before getting my wisdom teeth out, which made it that much more special), and it was stellar. Start your meal with stuff mushrooms, then move to some braised beef shoulder (which is bound to be awesome), and then finish with a chocolate whiskey pudding. (Note: their cocktails are awesome, so I highly recommend getting one with your meal!)

Imperial: Located downtown and headed by two fantastic chefs (Vitaly Paley and Doug Adams), Imperial is my go to for brunch with guests staying downtown. Hit them up for dining month to get some grilled squash salad, braised pork, and a chocolate bouchon for dessert.

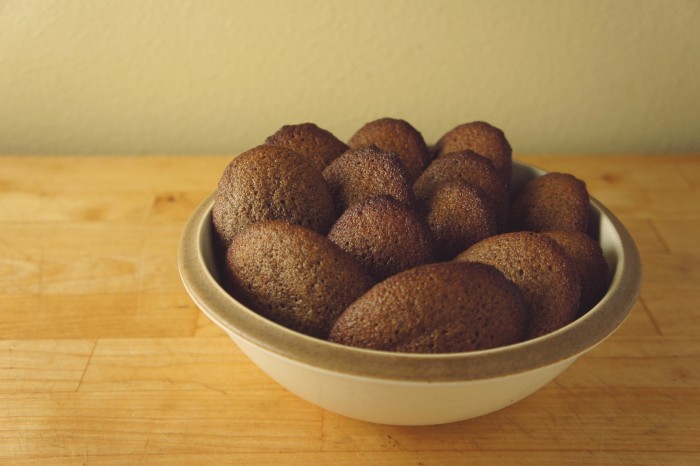
Ken’s Artisan Pizza: Is this the most exciting menu ever? No. Caesar salad, sausage pizza, and a brownie sundae for dessert. BUT IT WILL BE SO GOOD. This place has some of my favorite pizza in Portland, so take advantage of the price for the three courses and hit it up!

Where are you looking forward to going for Portland Dining month?

How to Use Up Stale Bread

Using Stale Bread | Serious Crust

Using Stale Bread | Serious Crust

We all do it. We buy a beautiful loaf of bread to eat with dinner, or to sop in egg custard for breakfast, and then, a few days later it’s looking rather sad. Maybe mildly shriveled, too crusty around the edges. And it doesn’t feel great, knowing that you have half a loaf of kind of inedible bread, knowing how chewy and perfect it was when it was fresh. But it is edible! You just have to have a few stale bread recipes in your back pocket. Here are some of mine:

Make breadcrumbs: Cut the crust off your bread and cut it into chunks, then throw them in the food processor till they’re the right consistency for you. You can either toast them now or throw them in a ziplock back in your fridge – for sooner use – or freezer – for later use. Pull them out later to top your favorite macaroni and cheese (I’m dying to try this one) or this chicken gratin (which I just made and was a big hit).

Ribollita: Stale bread soup may sound odd, but that’s what this is. I love this easy, throw-whatever-you’ve-got-in-the-pot soup. It’s a hearty, delicious meal for colder days.

Croutons: Cube your bread, toss it in some olive oil, and throw it on a sheet pan with a few cloves of smashed garlic and sprigs of thyme. Toast at roughly 350°F for about 8-10 minutes, keeping a close eye on them to avoid burning.

Bread pudding: If you’ve got more of a sweet tooth, cube your bread, soak it in eggs, sugar, milk, and spices, and bake it for an easy, rustic dessert.

Panzanella: A summertime recipe, panzanella is a great way to use up stale bread and the plethora of tomatoes you may have from your garden. Remove crusts and cube your bread, halve or dice your tomatoes, some cucumber, red onion if you want, and add some crumbled feta or ricotta salata. Top with torn basil and a simple balsamic or red wine vinaigrette.

French onion soup: Not only is French onion soup a great way to use stale bread, it’s also a great way to use any chicken or beef or vegetable stock you might have in the freezer. But let’s be honest, the best part of this soup is the cheesy toast floating on top, soaking up all that delicious broth.

Brown Butter Buckwheat Madeleines

Brown Butter Buckwheat Madeleines | Serious CrustBrown Butter Buckwheat Madeleines | Serious Crust

I don’t know that I’ve ever seen a batch of baked goods disappear so quickly. I just wanted to warn you right off the bat. Whether you’re making these buckwheat madeleines for you and your honey at home or to take to a fête, you should know either way that they won’t be around for long. I think it’s because they dance on the edge of sweetness and toe the line between a soft, cakey middle and crunchy browned edges. The outside is a tiny bit sticky from a spoonful of honey, and so when you finish eating one you have to lick your fingers, which only reminds you of the comforting flavors swirling around your tastebuds.

I spotted the recipe for these madeleines in my dad’s copy of My Paris Kitchen, which, yes I’ve been pining over and no I don’t have yet (but I may have just ordered). David Lebovitz has long had a home in my kitchen. I believe his lemon curd was the first one I ever made, and I’ve churned plenty of his ice cream recipes. When my dad got his cookbook, he almost immediately sent me the recipe for the leeks with mustard-bacon vinaigrette, which are delicious and you should definitely make them. I think I love his writing so much because I used to dream of packing up my life and moving to Paris, where I would use my 6 years of French lessons to make French friends and shop at French markets and cook French meals and it would all be so perfectly French.

But sometimes that isn’t quite how real life goes. You do sensible things like go to college and have roommates and get a job (or a few) instead of living the dream life in Paris. But that doesn’t mean you can’t have French inspired food and toss little French phrases around with other French speakers. And it certainly doesn’t mean you can’t brown butter in your kitchen so the house smells like nutty, toasty heaven, whisk that brown butter in with buckwheat flour and honey, and fill the molds of a madeleine pan with the batter. And it doesn’t mean you can’t break one of the madeleines in two while it’s still warm, the inside springy and spongey and the edges perfectly crispy. And it definitely doesn’t mean you can’t eat three (or four…) in the span of 10 minutes.

Brown Butter Buckwheat Madeleines

Ingredients

8 tablespoons (1 stick) unsalted butter, cubed
2/3 cup buckwheat flour
1/3 cup all-purpose flour
3/4 cup granulated sugar
1 1/2 tsp baking powder
1/2 tsp salt
4 egg whites, equaling about 1/2 cup (hint: keep the remaining yolks to make a citrus curd later)
1 tbsp honey
3 tbsp cocoa nibs (optional – I didn’t use these)

Instructions

In a pan over medium heat, cook the butter until it’s the color of a perfectly cooked marshmallow or toast. The butter will foam and spit, don’t be afraid. When it’s brown, pour into a heat proof bowl and set aside.

Preheat your oven to 400°F. In a medium bowl whisk together the flours, sugar, baking powder and salt. Add the egg whites and honey and whisk until combined. Add about a third of the brown butter, and mix until combined, then slowly add the rest of the butter while mixing. If you’re using the cocoa nibs, add them now and mix until they’re evenly distributed.

Brush your madeleine pan with butter, and fill the molds about 3/4 of the way full with batter – about one tablespoon. Bake for 8-10 minutes, until the madeleines spring back lightly when you touch them in the middle. Thanks to the buckwheat flour, you can’t really rely on color here too much, but you’ll kind of be able to tell when the edges are looking a little on the golden side. Allow to cool in the pan for about a minute before popping them out onto a cooling rack. I recommend eating them warm (or at least the same day) with a cup of coffee or tea.

Cheese Crackers

Cheese Crackers | Serious CrustCheese Crackers | Serious Crust

A while back, I went to the Oregon coast, which obviously meant a stop at the Tillamook Cheese Factory for a few trips through the tasting line and being entranced by the packaging of cheese. You wouldn’t think it would be so interesting, but I totally zone out on those machines trimming, wrapping, vacuuming, and sending off a zillion pounds of cheese.

The other great thing about the cheese factory is that not only do they have EVERY kind of Tillamook Cheese you could want, but they also have basically half-priced packages of the little ends and bits that they trim when they’re packaging the cheese. So when I saw a pound of Garlic White Cheddar for cheap, I said, “Yes, please,” and brought it home with me. I used almost all of it for some macaroni and cheese, and the rest went into these very (cheesy) crackers.

I’ve had a weakness for Cheez-its ever since I was a young child (seriously, if you every need to bribe me for any reason, Cheez-its will do the trick), and I love baking my own at home every once in a while. I figured the garlic in this cheese would add a great flavor to these cheese crackers, and it did. If you can, I highly recommend getting your hands on some garlic cheddar for these bad boys, but if you can’t, any sharp (or extra sharp) cheddar will do.

Cheese Crackers

Ingredients

4 Tbsp unsalted butter, at room temperature
4 oz sharp cheddar cheese, finely grated
4 oz Tillamook garlic white cheddar (or any other garlic cheddar), finely grated
1/2 tsp salt
1/4 tsp chili powder, optional (if you’re down to have your crackers on the slightly spicier side, I recommend it)
1/2 tsp smoked paprika
1 cup AP flour
1-4 Tbsp cold milk
salt for dusting

Instructions

In a stand mixer, cream together the butter and grated cheese. While that is mixing, in a small bowl sift together the flour, salt, chili powder, and paprika. Add the dry ingredients to the butter and cheese mixture and mix until combined. Yes, it’ll be crumbly!

A tablespoon at a time, add the milk, mixing after each addition, until the dough comes together. Form the dough into two discs, wrap in plastic, and chill for at least 30 minutes.

Preheat your oven to 400°F. Line a baking sheet with parchment paper. On a floured surface, roll out the dough to 1/8 of an inch (or slightly thinner). Cut into squares, and using the tine of a fork or end of a skewer, make a hole in the center of each square. Sprinkle with salt, and transfer to the baking sheet. Bake for 8-11 minutes, until the edges are just golden brown (they can burn quickly, so if you want to go darker, keep a close eye on them). Transfer to a cooling rack and let cool for 5 minutes before enjoying.