Course

Haroset!

HarosetHaroset

Continuing along the Passover theme here: When we returned from Tucson, I was craving some haroset. It’s one of my favorite passover foods, and a great snack to have throughout the week. So much better than chips and salsa (in my opinion). For those of you who don’t know, Haroset is simply a combination of the following: apples, walnuts, cinnamon, and wine. I’ve also seen it with raisins, pears, other spices, and sugar. But today we’ll just keep it simple. Here’s what you’ll need:

Haroset

Ingredients

4 granny smith apples
1 cup walnuts
1/2 cup (more or less) sweet red wine (this is where Manischewitz comes in handy)
1 Tbl brown sugar
1 1/2 tsp cinnamon

Instructions

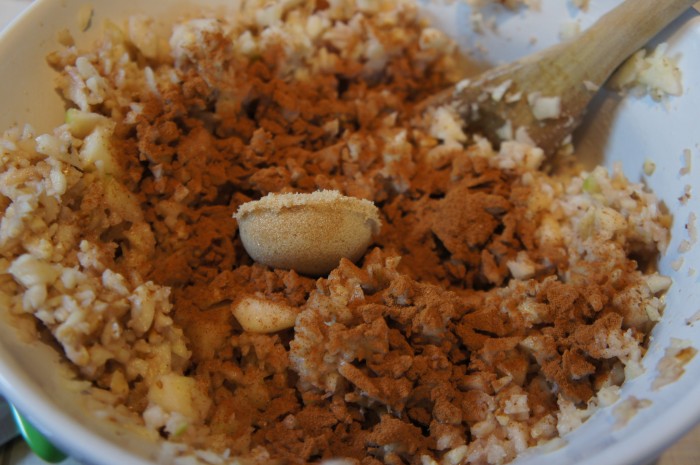
Peel, core, and finely dice the apples. I peeled them and cut them into chunks, then threw them in the food processor and pulsed them a few times. It worked really quite well and got the pieces smaller than I would have been willing to go if I had been chopping them by hand. Put the apples in a medium mixing bowl. Chop your walnuts too (I did these in the food processor too), and add them to the apples. Now pour in the wine, mixing so that the apples become a light pink. Feel free to add more wine if you want. Just don’t add too much; You don’t want a bunch of liquid sitting at the bottom of the bowl. Stir in the cinnamon and the sugar, and you’re done! Eat it on top of some matzoh with a bit of horseradish (not too much!) and enjoy!

Bubbe’s Chicken Soup

Chicken Soup

Chicken Soup

Once again, it has been a while. But this time I have a real excuse: Passover. I was busy cooking and cleaning last week for the family I nanny for and THEN on Thursday Jonah and I left (very early in the morning, mind you) for Tucson, AZ to be with my Dad’s side of the family for seder. Passover is one of my favorite holidays. I love the storytelling that’s involved, plus the singing, plus the amazing food. I love that the food you eat (or at least the food on the seder plate) isn’t arbitrary, that it represents all these parts of this story that took place so long ago. I love the celebratory feeling of the seder, that we (Jews) are remembering where we came from and celebrating the miracles that happened and the hardships our ancestors went through and then were freed from. It’s just so dang cool. Plus the food is ridiculous.

My aunt held the seder at her house. She is known for putting on beautiful seders full of fun props (Slingshots and marshmallows for hail? Bouncing toy frogs? Locust masks?) and parodies of famous songs. My bubbe (grandmother in Yiddish) made her famous matzoh ball soup. While I have her matzoh ball recipe hidden away somewhere, I thought I’d at least give you the recipe for the chicken soup part. Because who doesn’t love chicken soup?

Chicken Soup

Ingredients

2 chickens (can be cut up or whole)
1 parsnip, peeled and cut into bite size pieces
1 turnip, peeled and cut into bite size pieces
2 large onions, cut into bite size pieces
as many carrots and celery stalks as you like, cut into bite size pieces
fresh dill (probably about 1 Tbl)
fresh parsley (probably about 2 Tbl)
peppercorns
1 Tbl salt

Instructions

Cover the chickens with water in a large pot. Bring it to a boil, and skim. Add all the other ingredients, and simmer the soup for 2-3 hours. Strain it, to get all the big pieces out, and you have just broth. Let the chicken cool and take the meat off the carcass (it shreds pretty easily). Add the vegetables (and chicken) back to the soup as desired. Season with salt and pepper to taste! The chicken also makes really good chicken sandwiches or chicken salad. Enjoy!

Cinnamon Sugar Crackers

Cinnamon Sugar Crackers

Cinnamon Sugar Crackers

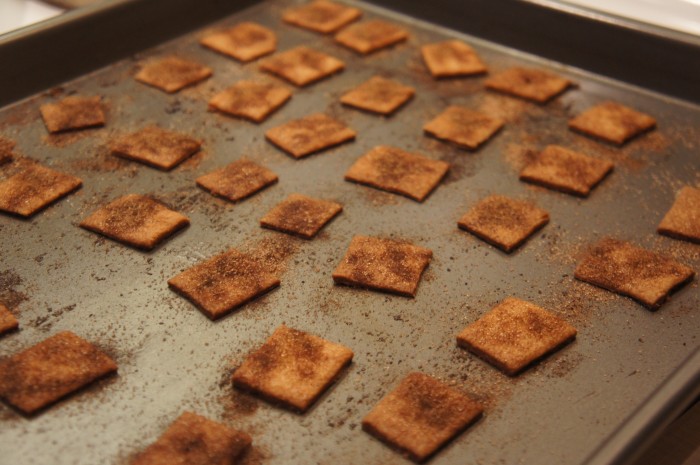
I recently found this recipe for cinnamon sugar crackers. The pictures looked like cheez-its, except no cheese, just a lovely dusting of cinnamon sugar. They’re like cookies but smaller and crunchier. A nice way to have something sweet but smaller servings and more snack-esque than cookies. They’re like a mix between a Snickerdoodle and Cinnamon Toast Crunch.

Cinnamon Sugar Crackers

Ingredients

4 tablespoons unsalted butter, softened
3/4 cup all-purpose flour
5 Tbl sugar, divided
2 tsp ground cinnamon, divided
2 Tbl milk or half and half (I used 2%)

Instructions

Preheat your oven to 350 degrees. In a food processor, combine the butter, flour, 4 Tbl of the sugar and 1 tsp of the cinnamon. Pulse until the mixture forms coarse crumbs. Now add the milk or half and half and process again until the dough comes together and forms a ball. In a small bowl, combine the remaining sugar and cinnamon in a bowl and set aside.

Dump out the dough onto a floured surface and, using a floured rolling pin, roll the dough out. You want it to be as much of a rectangle as you can and about 1/16 inch thick. With a pizza cutter wheel or a sharp knife, trim the sides off and cut the dough into 1 inch x 1 inch squares.

Carefully transfer the crackers to a baking sheet (preferably lined or greased). I needed to use my knife to help get the dough off the counter. Once on the baking sheet, take the blunt end of a skewer (or the end of a paintbrush because you don’t have any skewers around) and make a hole in the center of each cracker. This ensures that the crackers don’t puff up too much while they’re baking. Sprinkle the cinnamon sugar over the crackers before baking them for 11-15 minutes. I baked mine for 11 minutes, turning them halfway through. You want the edges to be golden brown. After removing them from the oven, transfer the crackers to a rack to cool. Enjoy!

Lemon Rosemary Palmiers

Lemon Rosemary Palmiers

Lemon Rosemary Palmiers

Lemon Rosemary Palmiers

When I say palmiers, doesn’t something incredibly fancy and impossible to make come into your mind? It does for me. If the name is so French that Jonah can’t say it, it’s gotta be tricky. (Every time I told him I was going to make these, Jonah asked “What’s a palmier again?”) But that is so not true. Especially when you’re just going to use your leftover puff pastry from that beet tart you made… Seriously. So easy.

I found these on Joy the Baker and have been dying to make them. They’ve been calling my name from my Pinterest food board. I adapted the recipe and the method a teensy bit.

Lemon Rosemary Palmiers

Ingredients

1 package puff pastry
3/4 cup of sugar
zest of 1 large lemon
1 teaspoon finely chopped rosemary (fresh is better, but dried will do just fine)

Instructions

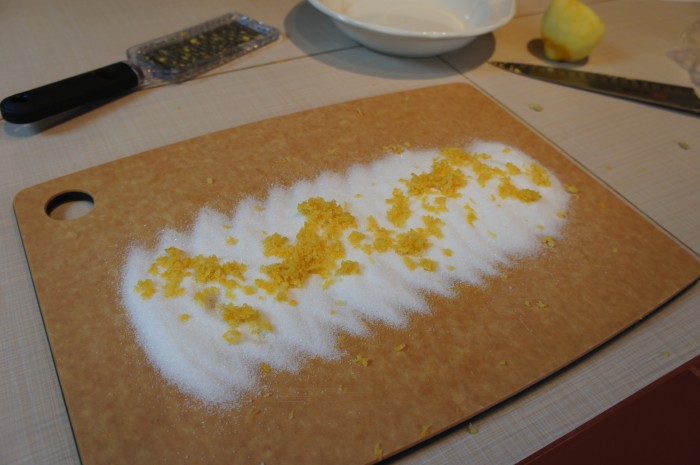
Finely chop the rosemary and set aside.  On a clean, flat surface rub lemon zest into the sugar using a bench knife (if you have one) or the back of a spoon (that’s more like it).  Put the sugar in a bowl and set aside. Unfold the thawed puff pastry onto a lightly (very lightly) floured surface and roll it out a little bit. You don’t need it too much bigger, just like an inch on each side is good. Move the puff pastry somewhere else, sprinkle the surface with about 1/3 of the lemon sugar, and then put the puff pastry back on top of it, pressing it down a bit to get the sugar to stick. Once the puff pastry is down, spread the rest of the sugar and the rosemary over the surface.

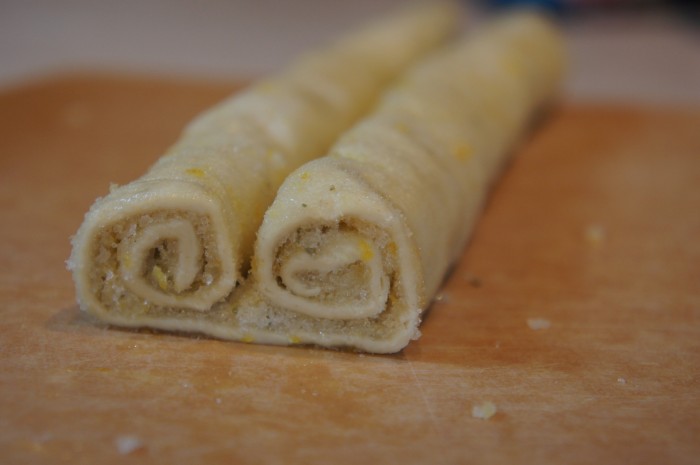
Now tis time to roll. Roll the long side in towards the middle. Then roll in the other long side to the middle. Gently press the sides together so they stick a little bit (though the outside will be covered with lemon sugar, so mine didn’t stick crazy well). Wrap this in plastic wrap and refrigerate it for about an hour, or until it’s cold and relatively firm.

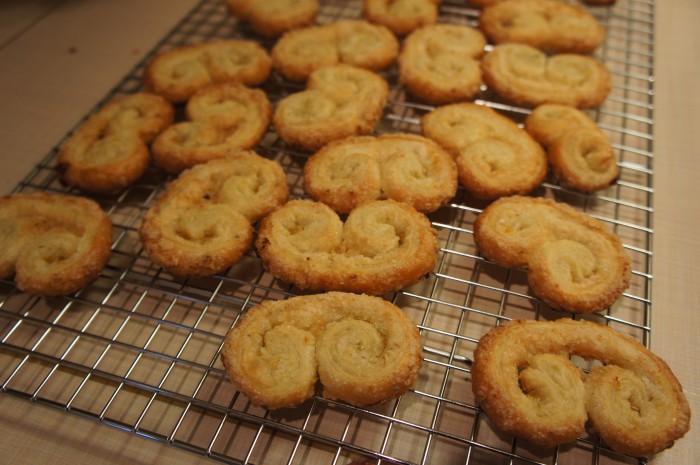
Preheat your oven to 400 degrees. Remove dough from the fridge and slice in about 1/2-inch thick slices.  Place on lined baking sheet (think silpat or parchment paper – I used foil and buttered/floured it, which work well).  Bake for 10 to 15 minutes of until golden brown.  You’ll probably want to rotate the baking sheet halfway through baking.  Keep a close eye on the cookies after about 11 minutes.  They might burn quickly because of all the sugar. Actually, because of the burning sugar, I replace the foil between each batch so it didn’t smoke. Remove the palmiers from the pan pretty much immediately after baking, and put them on a wire rack to cool. Once they’re cool, dig in and enjoy!