Course

The Greatest Fish Tacos!

Filling for Fish Tacos

Fish Tacos

Hello all. Summer is tip-toeing out these days. And, while I’m sad that the warmth and long days are leaving, I must admit I’m excited to start wearing sweaters and scarves and boots – my fall uniform. The other nice thing about the very gradual transition this year – the temperature is slowly going from a high of 90 to a high of 72, and that’s great – is that it’s a gentle reminder to make all my favorite summer dishes I haven’t made yet.

These fish tacos are easily in my top 5 summer meals. They’re relatively easy and refreshing. I suppose they could be made year round, but to me they just seem to go with sunshine and shorts. I like to make some roasted corn for a side dish and wash it all down with a light summer ale.

Fish Tacos

Ingredients

Lime-Cumin-Dijon vinaigrette

2 Tbl fresh lime juice
2 tsp dijon mustard
3/4 tsp ground cumin
1/4 tsp salt
1/8 tsp freshly ground black pepper
6 Tbl olive oil

Fish Tacos

2-2 1/2 cups roughly flaked cooked halibut (about 12 oz)
3 Tbl mayonnaise
1 scallion, white and light green parts only, minced
1/2 cup minced celery leaves and stalks
1/4 cup chopped green olives (optional… I don’t usually include these. Another option is to prep them and not add them to the mixture, but to serve as a garnish/possible topping)
1 cup arugula, roughly chopped (or other “peppery green”)
1 cup cilantro leaves, roughly chopped
6 small corn tortillas (the 4 inch ones)
other serving options:  yogurt or sour cream, goat cheese, slices of avocado, and lime wedges

Instructions

To make the vinaigrette, put the lime juice, mustard, cumin, salt, and pepper in a small bowl. Whisk together, and while whisking, add the olive oil in a slow steady stream. Whisk until the dressing is well combined.

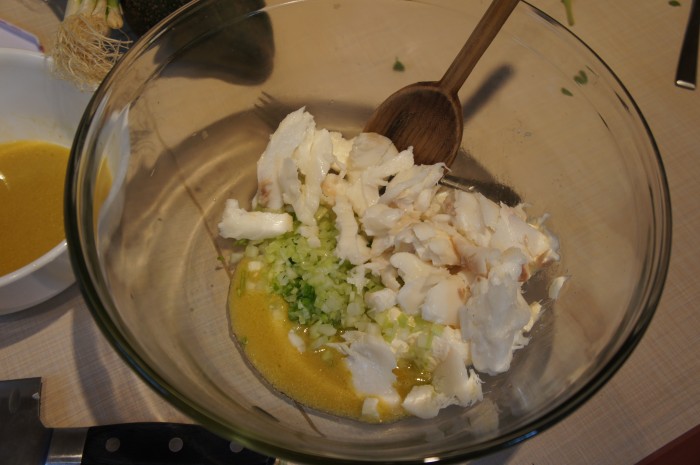
Now onto the filling. In a mixing bowl, combine the fish, 2 Tbl of the vinaigrette you just made, the mayonnaise, scallion, and celery and mix gently. You want to be sure to be gentle because you don’t want to break up the fish too much. If you’re using the olives, mix them in as well. In a separate bowl (I know, another bowl!) toss the arugula and cilantro with just enough of the vinaigrette so that it is lightly and evenly coated. Now the recipe leaves the fish and the greens separate, which you totally can, but for the sake of not having a thousand dishes on the table, I usually just lightly fold the greens in to the fish so it’s all one big mixture.

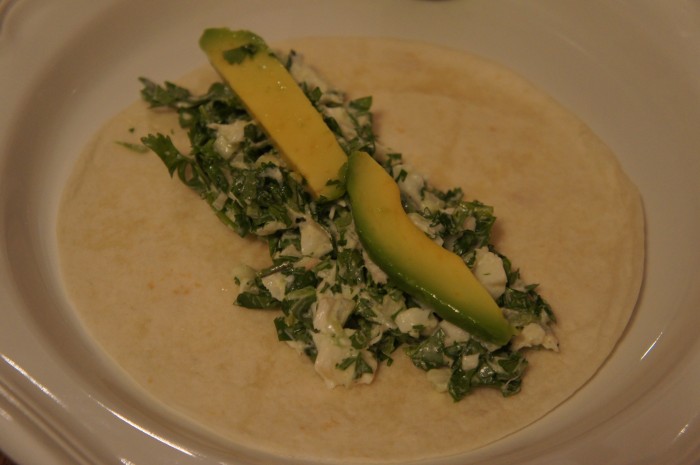
When you’re ready to eat, heat the tortillas however you’d like (the recipe recommends over a gas flame, but that sounds a little frightening to me, so I am a fan of a dry pan or, if need be, a microwave). Put the tortillas on plates, put on a layer of the fish and a layer of greens (if you’ve left them separate; if not, just heap it all on there). Then top your tacos with whatever garnishes you choose, and enjoy! Be sure there are napkins around, because there are juicy little buggers.

Old Fashioned Strawberry Shortcake

Shortcake
Shortcake

A perfect scene for eating shortcake

Wow you guys. This is the longest I have gone without posting here. I’m going to do my best to get back on the horse, but I can’t make any promises. Here are a few reasons August was a little rough:

1) We travelled quite a bit. To Seattle twice: once for a farewell party for my sister (who just moved to Berkeley, CA to pursue her dreams), once for a wedding (congrats to Johnny and Sophie!), and then to Minnesota for Jonah’s family reunion.

2) I was nannying AND working at Pagatim. It was… a lot.

3) We moved! It’s official! We now live in a beautiful grown up house with friends. I can’t tell you how refreshing it is to have doors between rooms (for example, there is not only a door between our bedroom and kitchen, but an entire floor/ceiling, which means Jonah can no longer wake me up in the morning by eating his cereal), a full sized kitchen (with a dishwasher!), big windows and lots of light, a patio out back… the list goes on.

But really, I know there is no excuse to leave you hanging like that, so my hope is to not let that happen again. One of the times I went to Seattle this summer, we went to see a viewing of The Princess Bride at the Mural Amphitheater right under the Space Needle. It was so fun, and we packed a wonderful picnic to bring along. I made these shortcakes for dessert, and they were so delicious.

Strawberry Shortcake

Makes 8 shortcakes

Ingredients

Shortcake

2 1/2 cups all-purpose flour
2 1/2 tsp baking powder
1/2 cup yellow cornmeal
2/3 cup granulated sugar, plus 1/3 cup to top shortcakes
1 tsp fine sea salt
1 1/2 cups heavy cream
4 tsp lemon zest
1/4 cup unsalted butter, melted

Strawberry Filling

2 pints ripe strawberries, hulled and sliced (I think we used raspberries instead)
2 Tbl granulated sugar
2-3 tsp freshly squeezed lemon juice
We also added a few roughly chopped mint and lemon verbena leaves

Whipped cream for serving, preferably homemade

Instructions

Shortcake

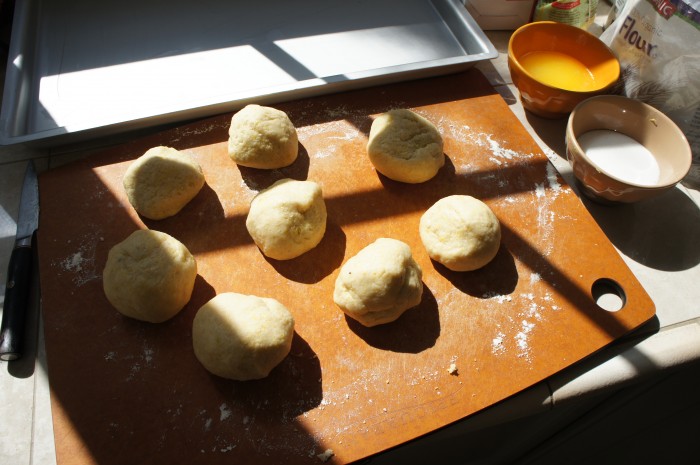
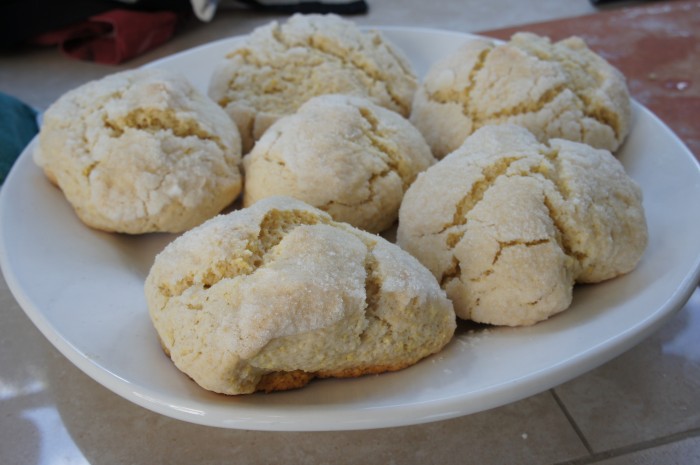
Preheat the oven to 350 degrees and butter a baking sheet. Mix together the flour, baking powder, cornmeal, sugar, and salt in a bowl. Then stir in the cream and lemon zest. Turn the dough onto a floured surface and form it into a ball, then knead about 12 times, or until the dough holds its shape (careful not to overwork it!). Cut the dough into 8 equal portions and form the portions into balls. Dip each ball into the melted butter, and then dip half of the ball into the (1/3 cup) sugar. Place each ball onto the baking sheet, sugared side up. Bake for 20-25 minutes until golden brown on edges and baked through. Cool on a wire rack.

Strawberry Filling

While the shortcake is baking, you can get started on the fruit. Now, I didn’t follow the recipe when it came to the fruit. I combined the berries, sugar, lemon, and herbs in a pot and put it over low heat. Let it cook, stirring frequently, until the sugar is absorbed and the berries start to soften, then remove from heat. (You can also prepare the whipped cream while the shortcakes are baking.)

To serve, slice the shortcakes in half horizontally, spoon a heaping serving of the fruit over the bottom half, then put on as much whipped cream as you’d like, and put the top on. These are a lovely end-of-summer dessert, simple but really delicious. Enjoy!

Chicken with Plum Chutney – plus a give away!

Chicken with Plum Chutney

Chicken with Plum Chutney

Do you like chicken? I like chicken. It seems to always be a good backup dinner. For example… not feeling spendy/fancy enough to buy fish? But don’t want something as carb-y as pasta? Answer: Chicken. You can do so many things with it! Cut it up and use it in a stir fry, smash it and coat it in Panko. Roast it in the oven with root vegetables. Make soup. The list goes on and on.

One of my personal favorite chicken recipes is this recipe for chicken with plum chutney from Martha Stewart. When I was in high school, we used to get Martha’s monthly everyday food magazines, and I would always go through them one by one and dog-ear all the recipes I wanted to make. This one has been by far the best recipe I have ever made from those things, and has stuck around the longest. It became a family favorite when I made it at my family reunion, and I it was included in the cookbook of family recipes that I gave my mom for her birthday last fall. It also is one of the few meals I’ve made for Jonah’s parents (this one even got the honor of being served on his dad’s birthday), so you know it’s good. It’s perfectly summery: fruity and tangy, but also sweet and a beautiful purple color.

Chicken with Plum Chutney

Ingredients

4 (6 to 8 ounces each) boneless skinless chicken breast halves
Salt and ground pepper
2 Tbl olive oil
1/2 medium red onion, chopped
1/2 jalapeno chile, (ribs and seeds removed for less heat, if you want), chopped
4 red plums, (about 1 pound), halved, pitted, and cut into 1/2-inch pieces
1/3 cup packed light-brown sugar
2 Tbl cider vinegar
3/4 tsp curry powder
1/4 tsp ground ginger

Instructions

Start by seasoning the chicken with salt and pepper. In a large skillet, heat 1 tablespoon of the oil over medium heat. Put the chicken into the hot pan and cook until it’s opaque throughout, about 5 minutes per side. Transfer the cooked chicken to a plate and set aside for later use.

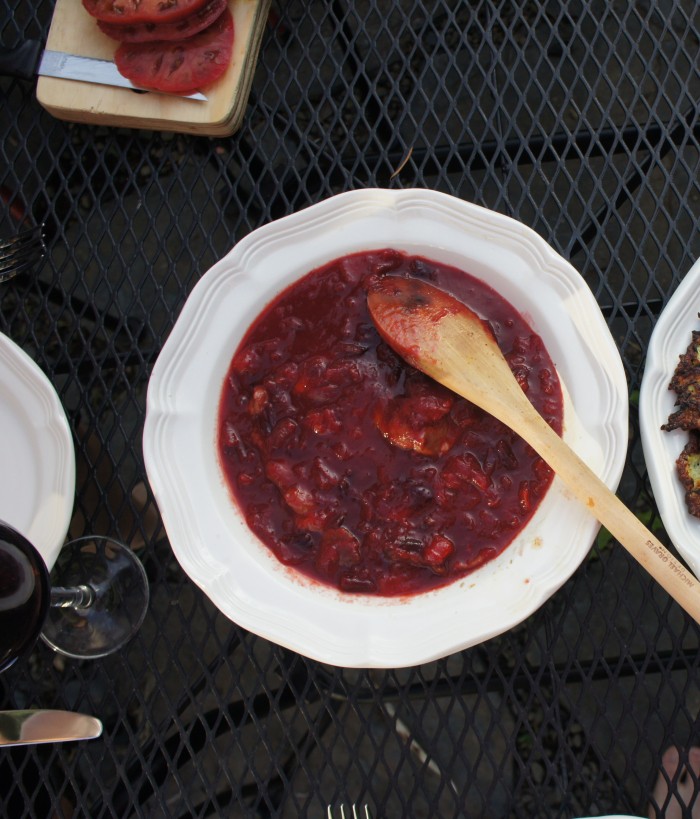
Now let’s make the chutney. Put the rest of the olive oil into the same skillet (No need to even rinse! Look at that, a one pot meal!), as well as the onion and jalapeno. Cook for about 3 minutes, or until softened. Increase the heat to medium-high and add the plums, sugar, vinegar, curry powder, ginger, and 1/4 cup of water. Now, I like to do a little less water so it isn’t quite as runny, but do it how you like. If you add too much water, you can always let it cook down a bit more (though everything in the chutney will get more cooked); On the other hand, if you add less to begin with, you can always add more later. Do whichever suits you. Bring the chutney to a boil and then reduce to a simmer. Cook until the plums are softened and the liquid is slightly thick – the recipe says 8 minutes, but I always find that this takes a bit longer.

When the chutney is ready, add the chicken and any juices from the plate back into the pan and simmer until the chicken is heated through. Season to taste with S&P and serve the chicken with loads of chutney spooned on top. In college, I liked to make large batches of this chutney and then freeze it, and then all I really needed to do was cook up some chicken and voila, dinner. Or you can put it over some plain pasta. Really, any vehicle you need to get this chutney into your mouth is fine. But chicken is best.

Ticket Give Away!

Now, speaking of chicken, I’ve got my very first give away on the blog! Kind of cool, right? It’s really only for Portlanders, though… sorry out-of-towners. Last week, while on vacation, I was contacted to see if I wanted to offer FREE tickets to the Foster Farms Fresh Chicken Cooking Contest. Exciting, no? At this point in the game, this is the regional finals at the Art Institute of Portland. The contest takes place on August 10th (in a week and a half!) at 9:30 am. You would be able to attend the event, watch the contest live, and sample the contestants’ dishes. You also will have a chance to see the professional kitchen at the Art Institute, which will be pretty cool, I bet.

Now, I can’t attend because, you know, I work two jobs, but I want anyone who reads this blog and wants to go to please leave a comment below with your full name! We’ve got 10 tickets to give away here folks, so get going! On Monday (or Tuesday), I’ll pick 10 people from the comment section to give tickets to. Want more information? Go here.

Using those roasted tomatoes…

Tomatoes
tomatoes

tomatoes

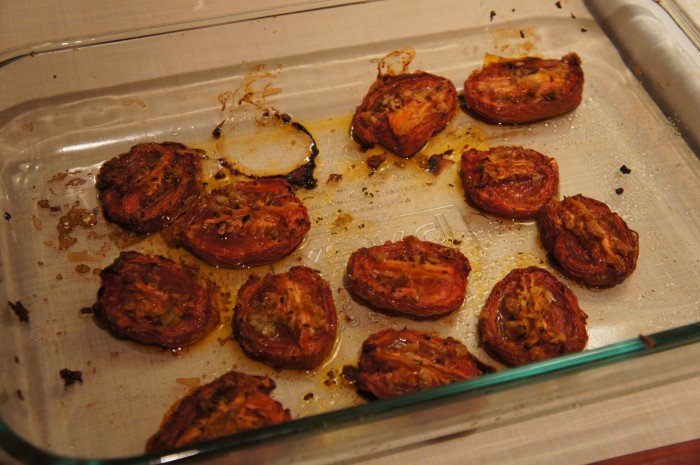
Remember those roasted tomatoes I made a while back? 2 things about them.

One is that I’m reading Molly Wizenburg’s book, called “A Homemade Life,” and it’s lovely. She’s a fabulous writer, and there are recipes! I can’t wait to try them. I already loved her, but then I got to the part where she talks about her own roasted tomatoes, and how great and easy they are, and now I feel like we may be soul mates. Oh my goodness. Read her blog Orangette and also the book mentioned above. She’s working on another book, and I can’t wait to read it. Her writing is really lovely, full of nostalgia and a clear love for detail. She notices the little things.

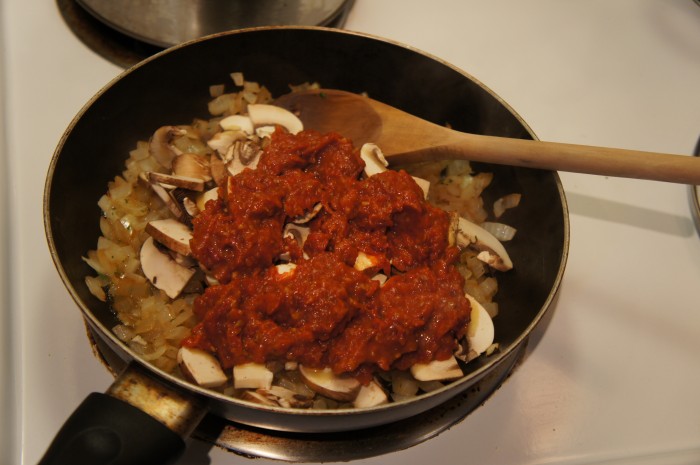
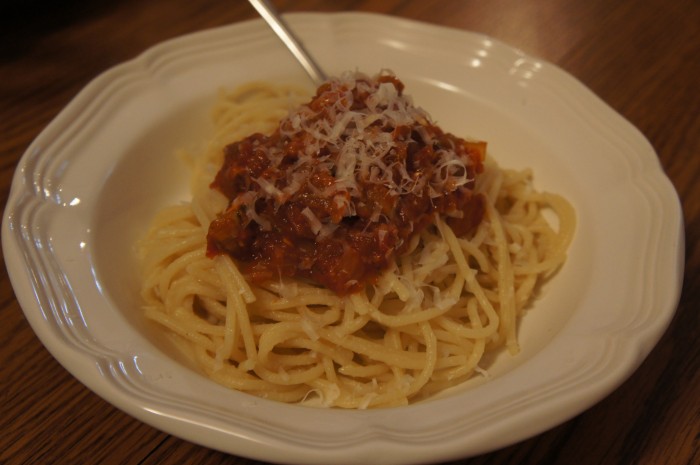
The second thing about those tomatoes: pasta sauce. They’d been sitting in the fridge for a little while, and I thought to myself, “I won’t let these go bad! I must use them!” So I decided to do something easy with them besides just eating them cold. I threw them in the food processor, heated them up, and put them over some sauteed mushrooms and onions to make a sauce. Scoop the sauce over some noodles of your choice, and sprinkle with freshly grated parmesan and voila! Dinner. You can find the original recipe for the tomatoes here.