Course

Shakshuka

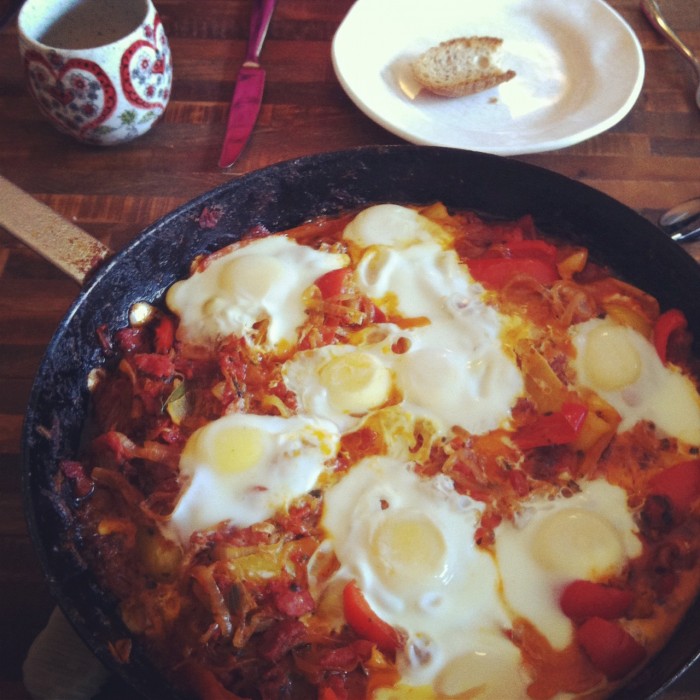
Shakshuka for breakfast! Looks amazing.

I have discovered possibly the best Israeli-inspired brunch dish of all time. You think that’s a really specific category? It’s not. I know this because I now have two whole cookbooks from chef Yotam Ottolenghi (“Plenty” and “Jerusalem”). Born and raised in, guess where, Jerusalem, Ottolenghi moved to London in 1998 where he has a deli chain and a restaurant (or two… I’m not positive). Anyway, last year, my mom gave Jonah “Plenty” for his birthday, and while the pictures are absolutely beautiful and the food looks delicious, the recipes are a little intimidating. Lots of kind of obscure ingredients like muscovado sugar and tamarind paste and harissa. So we made maybe one or two things from it. But in the last year, we have grown much more ambitious in the kitchen, so when I was in Berkeley visiting my sister and I saw “Jerusalem” (and it’s latke recipe, which I will sharing with you shortly) I wanted it. Badly. And guess what. I got it. For my birthday. From my sister. Because my family is awesome and gifts each other beautiful cookbooks and kitchen appliances.

Anyway, when I was home for Thanksgiving, my dad made the shakshuka out of “Plenty” for brunch one morning. (Let it be noted that there is ALSO a shakshuka recipe in “Jerusalem” and that they are, indeed, different.) Now, as one who has only recently grown to love bell peppers, I was skeptical about liking this dish. It is, afterall, mostly bell peppers. But oh my gosh you guys. Go make this NOW. It’s so amazing. Really complex flavors (thanks saffron and muscovado sugar), brilliant colors, and delicious leftovers. Best enjoyed with some crusty bread (think rye or a French batard or something like that).

Shakshuka

Serves 4 generously

Ingredients

1/2 tsp cumin seeds
3/4 cup olive oil or vegetable oil (I would maybe do a little less than this, but try it and see what you think)
2 large onions, sliced
2 red bell peppers, sliced into 3/4-inch slices
2 yellow bell peppers, same preparation
4 tsp muscovado sugar (yes, it’s an obscure ingredient, but now I want to put it in everything)
2 bay leaves
6 sprigs worth of thyme leaves, roughly chopped
2 Tbl chopped parsley
2 Tbl chopped cilantro, plus extra for garnish
6 ripe tomatoes, roughly chopped (if it’s not tomato season, 2 small cans of canned tomatoes will work perfectly, but I would recommend draining most if not all of the juice first.)
1/2 tsp saffron threads
pinch of cayenne
salt and pepper
up to 1 1/8 cups water
4-8 eggs

Instructions

In a very large pan (seriously, probably the biggest pan you’ve got is a good idea), dry roast the cumin seeds on high heat for a couple of minutes. Add the oil and onions, and saute for about 5 minutes. Then add the peppers, sugar, bay leaves, thyme, parsley, and cilantro, and keep cooking it on high heat for 5-10 minutes, until everything is starting to get some nice color to it.

Now add the tomatoes, saffron, cayenne, and a bit of salt and pepper. Bring the heat down to low and cook for 15 minutes. If you aren’t using canned tomatoes, keep adding water during this time so that the mix has kind of a chunky spaghetti sauce consistency. Because the canned tomatoes were pretty juice and I didn’t drain them completely, I found no need to add water. Give the mixture a taste, and adjust the seasoning as you see fit. More salt? More pepper? More muscovado sugar? Go nuts.

After 15 minutes on low heat, go ahead and remove the bay leaves. Now Ottolenghi has you divide the mixture among 4 little frying pans, but let’s face it, I’m not going to unnecessarily dirty 4 extra dishes. If it’s a fancy breakfast and you’ve got those adorable mini cast-iron skillets, maybe that’s your thing. But I just kept it all in the same one big pan for this part. Make some gaps in the pepper mix, and break one egg into each gap. (I surveyed my crowd to see how many eggs we each wanted, so I did 6.) Sprinkle with some salt and cover the pan with a lid (or tightly with some foil, if your pan doesn’t have a lid). Cook on “a very (!) gentle heat” for 10-12 minutes, or until the eggs are just set. A runny yolk is preferable. Sprinkle with cilantro and serve with some crusty bread. Enjoy! I promise, once you make this, you’ll come up with a million excuses/occasions to repeat it. It’s so delicious. And as I said, it makes great leftovers because the flavors just get to deepen even more.

Lemon Tart with Rosemary Crust


When planning this year’s Thanksgiving menu – which, believe me, took over a month – my father and I went back and forth quite a bit on what recipes to include. We wanted to go with some less traditional recipes. For instance, instead of a regular stuffing, we stuffed onions; there were no sweet potatoes or mashed potatoes at our dinner, instead we had twice cooked stuffed delicata squash (I’m working on getting you that recipe…); our brussel sprouts were glazed with balsamic, tossed with pancetta, and sprinkled with breadcrumbs. It was heavenly. Dessert, for some odd reason, turned out a little lackluster. You know how you wait all year for those pies? Those perfectly creamy pumpkin pies, those apple pies so full of apples you don’t know if they’ll all fit in the pie dish, and the pecan pie with the perfect ratio of nut to candy-like filling? Yeah… we didn’t really get those this year. Probably because we went with the whole “let’s try new recipes!” idea. And hey, I’m glad we did. What’s the fun in cooking if you’re using the same recipes over and over, right?

In addition to the traditional pumpkin/apple/pecan pies, we also decided to add a lighter dessert to the menu. You know Pinterest, right? Well I had found this recipe for a lemon tart with rosemary crust, and without really reading the whole thing, recommended it as a light, fruity dessert. Only upon arriving in Seattle and reviewing all of the recipes did I realize that the crust was a spelt crust. Now, I don’t hate gluten-free things, but I am a little…doubtful, one might say, of their deliciousness when compared with regular gluten-filled things. So I was wary. But I made it anyway. And what I loved about this tart is that the crusty is really rosemary-y, unlike all those recipes where you add a little bit of whatever herb and can barely taste it. I also loved how tart the filling was. My family loves sour anything, so the filling (not as much the crust, but whatever) was a big hit. If I were to make it again, I would probably 1.5 times the filling and just add some fresh rosemary to my own pie dough for the crust.

Lemon Tart with Rosemary Crust

Ingredients

Rosemary Spelt Crust

1 1/3 cup spelt flour
3 Tbl sugar
1 Tbl fresh rosemary, chopped
pinch of salt
1/3 cup cold butter, cubed
1-2 Tbl ice water

Lemon Filling

1 cup plain Greek yogurt (I wouldn’t recommend non-fat, as you’ll lose some of the richness, but if that’s what you’re into, go for it.)
1/2 cup sugar
2 eggs
1/2 cup freshly squeezed lemon juice
1 teaspoon lemon zest

Instructions

Rosemary Spelt Crust

Preheat your oven to 350 degrees. Butter a 9-inch tart pan and set aside.

In a food processor, pulse the flour, sugar, rosemary, and salt a few times. Add the butter and pulse until crumbs start to form. Add the ice water, 1 Tbl at a time, pulsing in between. When the dough holds together when pinched between your fingers, it is done. Don’t add any more water than is absolutely necessary.  It will seem crumbly, but trust me, it’s fine.

Dump the dough into the prepared tart pan. Press the dough into the pan, starting in the center and working your way outwards and up the sides (evenly!). Pierce the crust with a fork a few times and bake for 15 minutes. Allow to cool at least 5 minutes before you pour in the filling.

Lemon Filling

While the crust is baking, you can prep the filling. In a mixing bowl, whisk together the yogurt and sugar. Add the eggs one at a time, then the lemon juice and zest. Whisk until the mixture is smooth and well combined. Pour the filling into the (at least slightly cooled) crust and bake for 25-30 minutes or until the center is set and jiggles only slightly when shaken. It is weird to me that shaking things and their jiggling is in a recipe, but hey, that’s how it goes sometimes.

Allow the tart to cool completely, and then stick it in the fridge to chill for at least 1 hour before serving. If you’re feeling fancy, serve it with fresh whipped cream.

Brussels Sprouts and Tofu

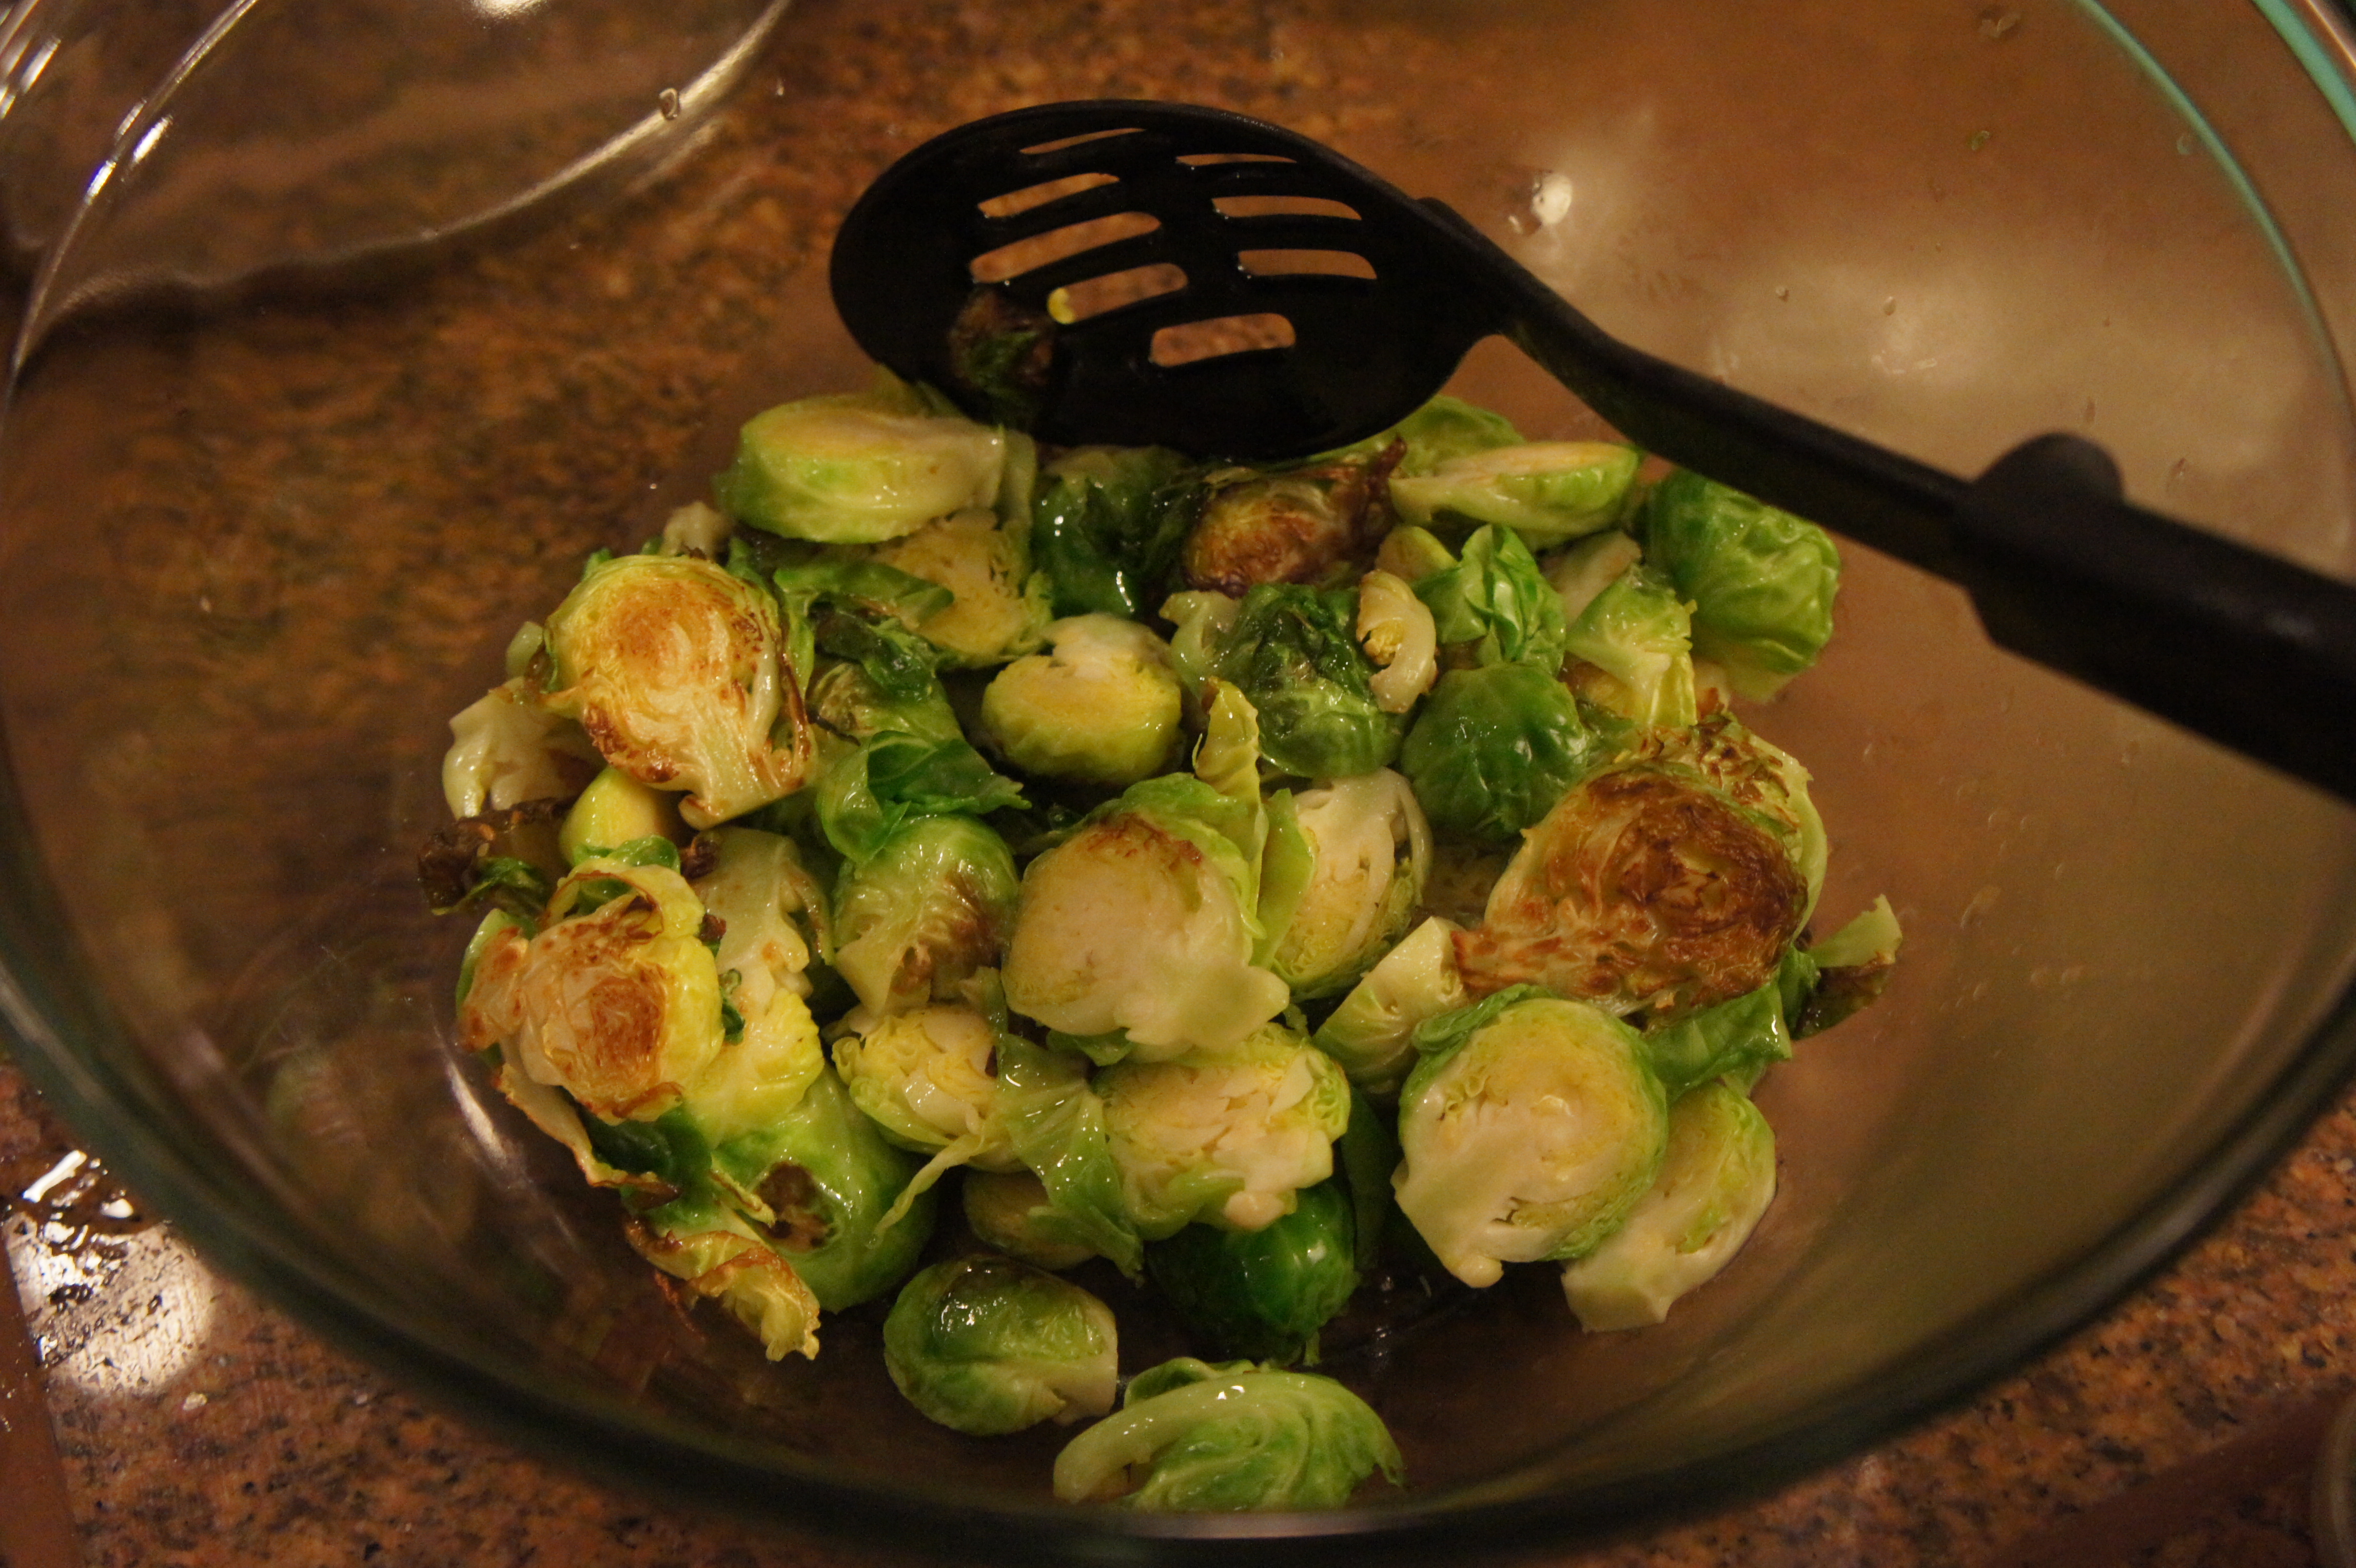
brussels sprouts
brussels sprouts and tofu

brussels sprouts, tofu, and rice.

I hated Brussels sprouts as a kid, as most kids do.  I remember my mom making them on occasion, usually steamed with butter melted on them.  She was the only one who ate them.

(Also, “Brussels sprouts??” I was under the impression until about 2 weeks ago that it was “Brussel sprouts.”)

Now that I am a so-called “adult,” I have only become slightly more receptive to these small green balls of vegetable. However, this recipe from Plenty by Yotam Ottolenghi has me almost craving them.  The best part about it is the way they are fried: with lots of oil and salt, face down on hight heat for a couple of minutes.  One side gets black and crispy, one side is still green.

Also, with the addition of tofu, this recipe makes a meal in one bowl!

Brussels Sprouts and Tofu

Ingredients

2 Tbs sweet chile sauce (the most common brand is Mae Ploy, we had a bottle in the fridge that was “borrowed” from our cafeteria back in college)
1 1/2 Tbs soy sauce
3 Tbs toasted sesame oil (don’t skip this! It makes the dish)
1 tsp rice vinegar
1 Tbs maple syrup
5 oz firm tofu
1 lb Brussels sprouts
about 3/4 cup canola oil
salt
1 cup sliced green onions
1/2 small fresh red chile, deseeded and minced (we used a jalapeño, so it was green.  Whoops.)
1 1/2 cups shiitake mushrooms, halved or quarted
1 cup cilantro leaves
1 Tbs toasted sesame seeds (optional, for garnish)

Rice for serving

Instructions

Find a medium bowl and in it, whisk together the sweet chile and soy sauces, 2 Tbs of the sesame oil, the vinegar and maple syrup. Cut the tofu into 3/8-inch-thick slices and then each slice into two squarish pieces.  Stir the tofu into the marinade and set aside.

Trim the bottoms off the Brussels sprouts and cut each into three slices from the top down.  Find a large frying pan, add 4 Tbs of canola oil, and heat up well.  Throw in half the Brussels spouts, or less than depending on the size of your pan (when I did this the oil spit like crazy, so watch out!).  You want most the sprouts in the pan to have at least one side touching the pan, so no sprouts are stacked on top of one another.  Sprinkle some salt on them and cook on high heat for about 2 minutes.  Don’t stir to much, but shake it around if necessary.  You want the sprouts to be almost burnt on one side. Remove to a bowl and add the rest of the sprouts to the pan with more canola oil.  Add more salt, and 2 minutes later, transfer the rest to the bowl as well.

Add 2 more Tbs of canola oil to the pan and sauté the green onions, minced chili, and mushrooms for 1-2 minutes.  Transfer to the bowl that the sprouts are in.

Leave the pan on high heat and use tongs to lift half of the tofu pieces from the marinade to the pan (again, oil spits!) (don’t throw away marinade!). Space them apart and leave in one layer so that they can fry properly.  Reduce to medium heat and cook for 2 minutes on each side.  Transfer to the sprouts bowl and repeat with the rest of the tofu.

Remove the pan from the heat and return all the cooked ingredients from the spouts bowl back to the pan.  Add the leftover tofu marinade and half of the cilantro leaves.  Toss everything together, and let the pan cool down a bit.  Then taste and add salt if needed.  Stir in the remaining Tbs of sesame oil and serve warm, garnished with sesame seeds and/or the rest of the cilantro.  Eat with rice or by itself.

Chewy Gingersnaps, Perfect for the Holidays

Gingersnaps

Gingersnaps
Gingersnaps

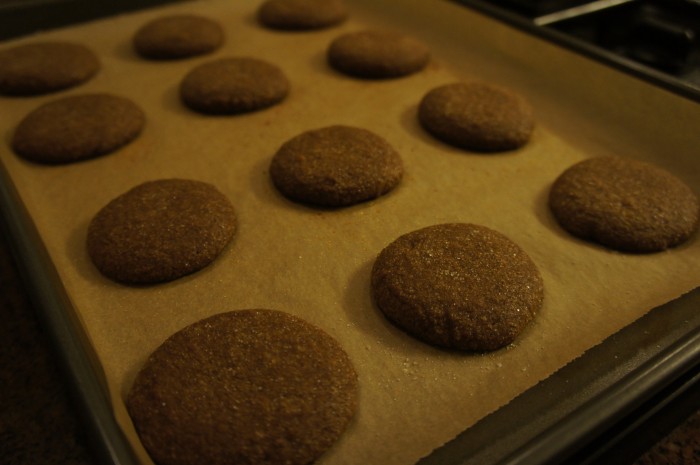
These are possibly the best gingersnaps I’ve ever had. Or maybe they should be called Gingerchews, because they don’t snap. Instead, these cookies are perfectly chewy in the center and crispy on the edges.

For my birthday, my co-workers – who know me incredibly well – bought me this Real Simple magazine/cookbook thing. It looks like a magazine, but is just full of fall and winter recipes. Jonah and I have enjoyed more than a few of the recipes from it, but it being gingersnap season and all, I wanted to share this one with you sooner rather than later.

Chewy Gingersnaps

Ingredients

2 cups flour
2 tsp ground ginger
1 1/2 tsp baking soda
1/2 tsp cinnamon
1/2 tsp salt
1/4 tsp black pepper
1/4 tsp nutmeg
1/8 clove
3/4 cup vegetable shortening
2/3 cup packed (light) brown sugar
1 egg
1/2 cup molasses
1 tsp vanilla extract
1/4 cup granulated sugar, plus some for sprinkling

Instructions

Preheat your oven to 350 degrees. Line a baking sheet with parchment paper (if you have 2 baking sheets, line 2 – these take a little prep time on the pan, so it’s nice to have time to get them ready while there’s a batch in the oven). In a bowl, mix together the flour, ginger, baking soda, cinnamon, salt, pepper, nutmeg, and cloves; put aside.

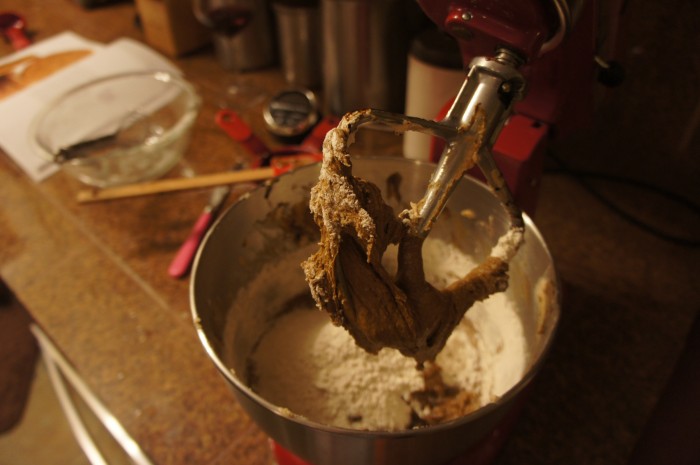
In the bowl of an electric mixer, beat the shortening and brown sugar until fluffy: you’ll want to use at least a medium speed for about 3 minutes. Turn the speed down to low, and mix in the egg, molasses, and vanilla. Slowly add the flour mixture and mix until combined.

Put the granulated sugar on a plate or in a shallow bowl. Take about a heaping tablespoon of dough, roll it into a ball, and roll it in the sugar to coat. Put the balls on the baking sheet at least 2 inches apart, and then, using the bottom of a glass, press the balls till they’re a little less than 1/2 inch thick. Sprinkle them with a tad more sugar and bake for 10-12 minutes, rotating the pan halfway through. Enjoy these gingernsaps by your holiday decorations (tree? menorah?) of choice with a glass of cold milk.