Course

Baked Rhubarb with Lemon and Cardamom

Baked Rhubarb with Lemon and Cardamom // Serious Crust by Annie Fassler

Baked Rhubarb with Lemon and Cardamom // Serious Crust by Annie Fassler

It’s raining in Portland. I know, surprise, surprise. But it wasn’t that long ago that the sun was shining and I even got a sunburn. Seriously! Last weekend, Jonah’s mom and Grandma were in town for the day, and we took them to the PSU Farmer’s Market, which has got to be one of my favorite things about Portland. The sun was shining, I wasn’t even wearing a jacket, and there was beautiful crimson rhubarb everywhere! Rhubarb has got to be one of my favorite ingredients of all time, so I was excited, to say the least.

As I was getting ready for Passover dinner on Tuesday, I decided to nix the matzo crunch in favor of something a little more reminiscent of springtime: some baked rhubarb. After doing a little recipe hunting and finding this recipe on Food52 and this recipe on Orangette, I decided to do a little adapting. This recipe is so easy and delicious – I love the slightly sour flavor of the rhubarb and the hint of lemon, cardamom, and earl grey. I balanced the tartness with some fresh whipped cream, but ice cream, fresh ricotta, or yogurt are also great options.

Baked Rhubarb with Lemon and Cardamom

Ingredients

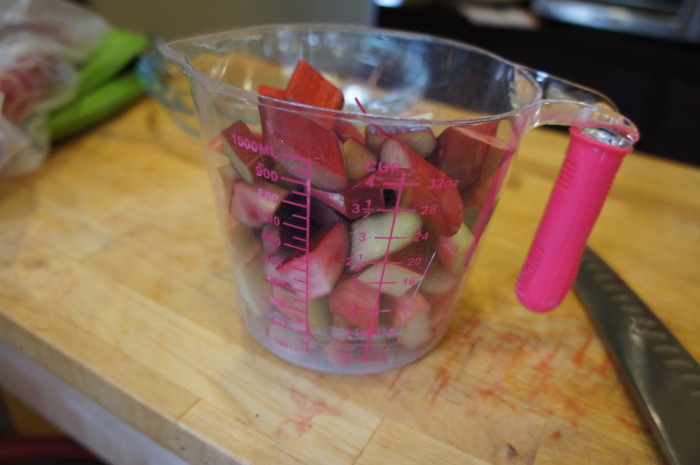
6 cups rhubarb, cut into 1-inch pieces
1 cup granulated sugar
1 meyer lemon, juiced
1/8 tsp cardamom
3/4 cup steeped and cooled earl grey tea

optional: fresh whipped cream, ice cream, fresh ricotta, or yogurt for serving

Instructions

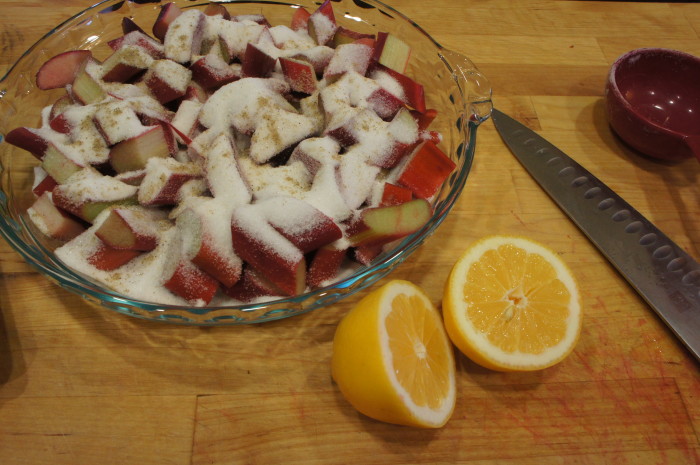
Preheat your oven to 350 degrees. In a baking dish, combine rhubarb, sugar, lemon juice, cardamom, and tea. Stir to combine. Bake for 15 minutes, stir, and bake for another 15 minutes. Remove from oven, and allow to cool. You can serve the rhubarb warm, room temperature, or chilled, all are wonderful. Yes, that’s it. Can you believe how easy this is?

P.S. The leftovers, if there are any, taste delicious stirred into your yogurt and granola the next morning. Or on top of pancakes. Just saying.

Simple Meringues from Leftover Egg Whites

Simple Meringues // Serious Crust by Annie Fassler

I loved meringues when I was a kid – the incredible sweetness, the way they just melt in your mouth, the way they sound kind of like styrofoam (a weird thing to like, I know), and the delicate poofy shapes they came in. I remembered making them once when I was in middle school, and getting the sticky batter all over my shirt and fingers and face.

While I don’t feel as passionately about meringues as I did when I was younger, I still enjoy them. I still love how as soon as you get a crumb on your tongue, it seems to be gone almost as quickly as it came. I love the intense sweet taste, and how it lingers in your mouth. I love the slight nuttiness that comes from the slow caramelization of the sugar.

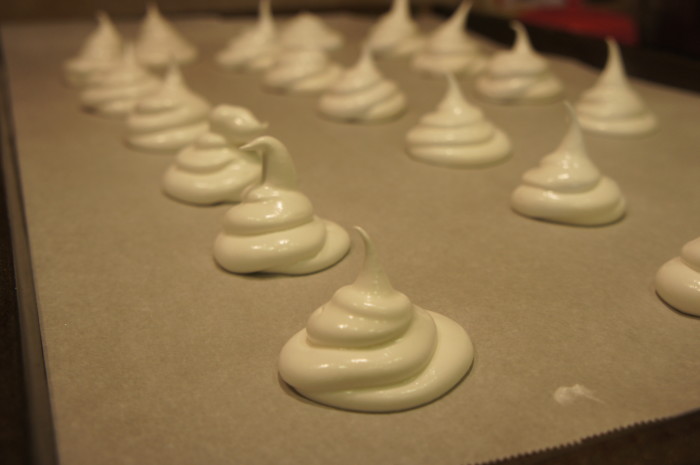
After I made the mint matcha ice cream, I had a bunch of leftover egg whites. I thought about making macarons, but I simply wasn’t in the mood for something so potentially intense where so much could go wrong. Plus, all my egg whites were in a jar together, so measuring out 3 or however many was going to be tricky. That’s the tough thing about leftover egg whites or yolks – you so often have to find a recipe that uses the exact amount you have leftover. I had seen an article recently on Food 52 about making meringue without a recipe, so I read it, and went ahead. I wouldn’t normally choose to make this much meringue, but it turns out 6 large egg whites yeilds…a lot.

Simple Meringues

Ingredients

1 part egg whites to 2 parts sugar. For example, 1 cup egg whites, 2 cups sugar. To stabilize, you’ll need 1/2 tsp cream of tartar or 2 tsp white vinegar per 1 cup of egg whites. An easy way to remember this, if you’re using vinegar, is that it’s the same amount as the sugar but in teaspoons. So, what I used: 1 cup egg whites (from 6 large eggs), 2 cups sugar, and 2 tsp white vinegar.

Instructions

Bring your egg whites to room temperature, if not a little warmer. You can do this by simply leaving them out in the kitchen for a while, or putting them in a bowl and putting that bowl in another bowl full of hot water.

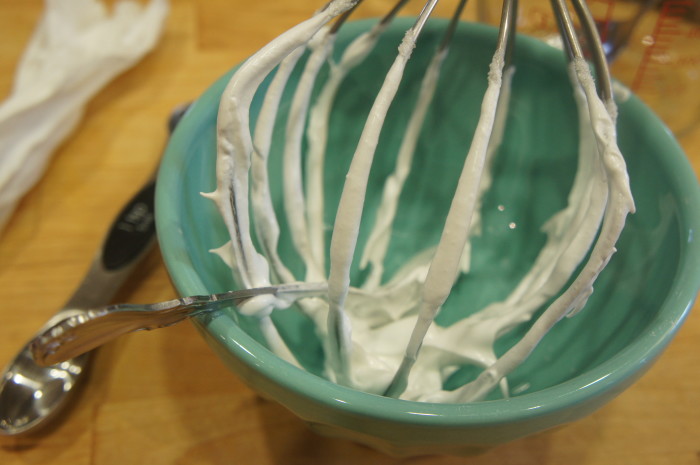
Preheat your oven to 225 degrees.  Line two pans with parchment paper. In a bowl, combine egg whites and vinegar or cream of tartar. Whip on medium speed with an electric beater or in the bowl of an electric mixer until there are soft peaks when the beater is lifted from the bowl.

Once soft peaks can form, turn the mixer speed to high, and add the sugar by heaping teaspoons. This will take a few minutes (certainly if you’re making as much meringue as I was). Be patient. Once the sugar is mixed in, either pipe the meringue onto the prepared baking sheets, or drop by spoonful. I used a large ziploc, used a spatula to scoop all of the meringue in, and then cut off the tip of one of the corners, and used that for piping. It worked really well.

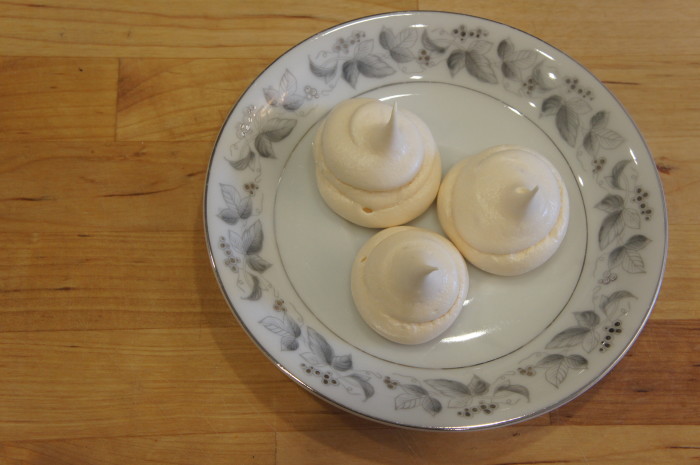
Bake the meringues for 1 1/2 hours, rotating front to back and top rack to bottom half way through. When time is up, turn off the oven and allow them to cool in the oven. If you have SO MUCH MERINGUE, like I did, you can turn off the oven and allow them to cool partway, remove from oven, and then preheat the oven for the next batch. I left my meringue on the counter while the first batch baked, and while it was noticeably not as fully whipped, it still worked just fine. I recommend crunching into one when it’s still warm, because how often do you get to try a warm meringue? Store the rest in an airtight container, and enjoy whenever you’re in need of a sweet, light treat.

Mint Matcha Ice Cream

Mint Matcha Ice Cream // Serious Crust by Annie Fassler

Mint Matcha Ice Cream // Serious Crust by Annie Fassler

When I made the anise ice cream that I posted about last week, it made me realize how truly simple it is to make your own ice cream. I mean, if you’ve got the ice cream attachment for the Kitchen Aid like my roommate does, or some other kind of ice cream churner. I found myself asking why I hadn’t been making my own crazily flavored ice cream for years. And you know what? I didn’t have a good answer.

So I thought I might as well start now. I’ve had some matcha sitting in my drawer since I made these madeleines, and I’d been wanting to try some matcha ice cream. But I didn’t want to make JUST matcha ice cream. After thinking about what flavor combinations might work with matcha – chocolate? lemon? – I decided to go with mint. I liked the idea of the herbaceous, refreshing mint with the earthy, almost savory matcha. So, mint matcha ice cream it is!

I also decided to make this ice cream this week because I thought it might be nice to start doing some holiday-oriented recipes. And while the flavors in this recipe have nothing to do with St. Patrick’s Day, it is green. Definitely green. Especially if you make it the day before you’re planning on eating it.

After a little research, this recipe is adapted from and inspired by David Lebovitz, Kinfolk, and many other ice cream recipes all over the internet.

Mint Matcha Ice Cream

Ingredients

1 cup whole milk
2 cups heavy cream, divided
3/4 cup granulated sugar
a pinch of salt
1 cup fresh mint leaves, rinsed
4 tsp matcha green tea
5 egg yolks

Instructions

In a saucepan over medium heat, combine milk, 1 cup of cream, sugar, salt, and mint leaves. Stir until sugar is dissolved, and once the mixture is hot and steaming, remove the pan from heat, cover, and let it steep for one hour.

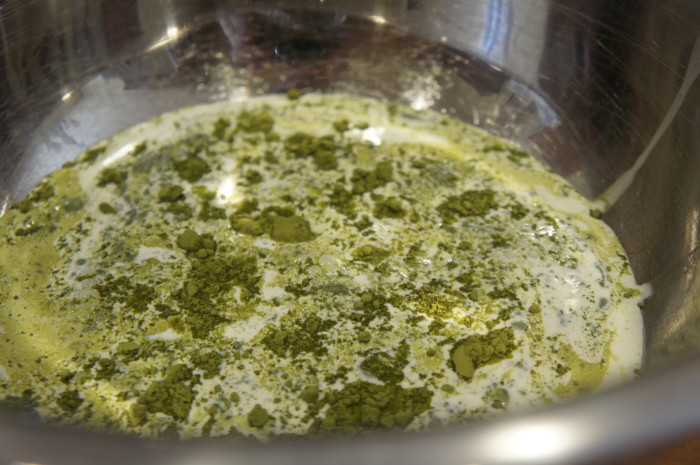
Fifteen minutes before your mint is done steeping, get out two mixing bowls. In one, combine the other 1 cup of cream and the matcha. Whisk together until thoroughly combined and no clumps remain. In the other mixing bowl, whisk together the egg yolks.

Once the mint is done steeping in the milk mixture, strain out the mint leaves, pressing them to extract all of the flavor. Re-warm the milk over low heat – you want it to be warm, not too hot – and slowly pour it into the egg yolks and whisk until combined. Pour the mixture back into the saucepan, and cook over medium heat, stirring constantly with a heat-proof spatula, until the custard thickens enough to coat the back of a spatula. Strain the custard into the bowl with the matcha cream, and whisk again to combine. Stir the mixture over an ice bath to cool. Once cooled thoroughly, churn in your ice cream maker according to your machine’s instructions.

Shanghai Stir-Fried Rice Cakes

Shanghai Stir-Fried Rice Cakes // Serious Crust by Annie Fassler

There’s this dumpling house near my mom’s old apartment in Bellevue called Din Tai Fung. It’s a chain, but it’s ok because the dumplings are awesome. We always entrusted our ordering to my little sister, who is the guru of Asian cuisine, and she always ordered the best dishes. If you go, I highly recommend the juicy pork dumplings that are filled with pork and a hot broth, the shrimp and pork shao mai, and some variation of the Shanghai rice cake. These rice cakes are small, oval cakes that I assume are made out of ground rice. They’re delicate and chewy at the same time, and they take on the flavor of whatever sauce they’re cooked in.

Recently I went to Fubonn Supermarket, an Asian market in southeast Portland. I love roaming the aisles of international markets, being astounded by some of the things you can find, and excited when you happen upon an ingredient that you love but have never been able to find before.

You can imagine my delight when I happened upon a bag of dried rice cakes, and they were roughly $2 for a pound. So… that’s a thing. I immediately grabbed a bag, and it sat on our shelf for a few days while I tried to figure out what to do with them. (Then they sat on the shelf a couple days longer when I forgot to start soaking them the night before we wanted to make them, so we had to whip up something else for dinner instead.)

I believe you can also get frozen and fresh rice cakes, but with my dried ones, I soaked them overnight before I made them. But they were easy to use, and delicious, and I recommend getting your hands on some as soon as you can to start experimenting! I stir fried mine with some bok choy and shiitakes, and it was delicious.

Shanghai Stir-Fried Rice Cakes

Ingredients

3 Tbl canola oil
5 cloves garlic, chopped
1 inch piece of ginger, peeled and chopped
8 oz rice cakes, soaked overnight if dried, thawed if frozen
2 heads baby bok choy, rinsed
8 oz fresh shiitake mushrooms, sliced into 1/3-inch strips
1/4 cup soy sauce
1-3 tsp Sriracha
1-3 tsp brown sugar

Ingredients

More optional additions: bean sprouts, napa cabbage, other mushrooms, fish sauce, pork, beef, shrimp.

In a large wok or nonstick pan, heat oil over medium heat. Add ginger and garlic, and sauté until fragrant and starting to brown, about one minute. Add the rice cakes, bok choy, and mushrooms and cook until the bok choy is wilted. If your rice cakes aren’t quite soft enough (remember though, you want them to be a little chewy), add about 1/4 cup water to the pan and cover for a few minutes to steam a bit. Once the mushrooms are cooked through and the bok choy is wilted, add the soy sauce, sriracha, and brown sugar to taste. Start with less sriracha and brown sugar, and taste a lot! I found that I wanted a larger amount of brown sugar because of the saltiness of the soy sauce, and Jonah wanted more Sriracha (obviously). Cook, stirring, until all the rice cakes and vegetables are thoroughly coated and the liquid of the soy sauce has cooked off. Enjoy with teriyaki salmon or Korean short ribs (like we did).