Course

Key Lime Meltaways

Key Lime Meltaways

Key Lime Meltaways
Key Lime Meltaways

Key Lime Meltaways

So, I had gone over a week without baking. OVER A WEEK. That’s a long time for me. Seeing as we’re trying to cut down on our sweets intake, I was trying to be good and, for the most part, succeeding. But the time came when all I wanted to do was to try out a new cookie recipe and I just couldn’t help myself. I had been stalking this recipe for Key Lime Meltaways from Smitten Kitchen for quite some time, and I finally decided to make it. We had everything except the limes, so I just popped over to the store and grabbed a couple (we were going anyway to get ingredients for a delicious dinner that will be posted shortly). The recipe recommends key limes, but I didn’t want to buy an entire bag of them, so I just bought a couple of small limes (and ended up only using one actually). I used bread flour because I’m still trying to work my way through that giant bag Jonah bought me. I also halved the recipe, but I’ll give you the full recipe because…well…sometimes more is just better.

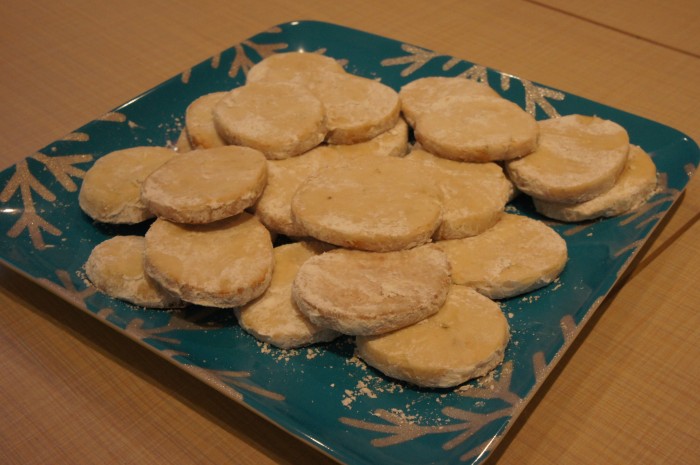
These cookies were so good, sweet at first and then sour, and the zest were these little crunchy bits from being baked… Yum! We made a half a batch which yielded 2 dozen cookies, and they were gone quickly. A little too quickly for my liking. But what can you do. Enjoy!

Key Lime Meltaways

Makes 2 dozen cookies

Ingredients

1 1/2 sticks unsalted butter, room temperature
1 cup confectioners’ sugar
Grated 2 (small) limes
2 tablespoons freshly squeezed lime juice (I added a little extra because I like sour stuff)
1 tablespoon vanilla extract
1 3/4 cup plus 2 Tablespoons all-purpose flour
2 tablespoons cornstarch
1/4 teaspoon salt

Instructions

Put the butter and 1/3 cup of the powdered sugar into the bowl of an electric mixer and cream until it’s nice and fluffy. Then add the lime zest, juice, and vanilla and beat it until fluffy again. For me, the mixture wasn’t absorbing all the liquid (the lime juice and vanilla), so I just continued on my merry way without worrying about it.

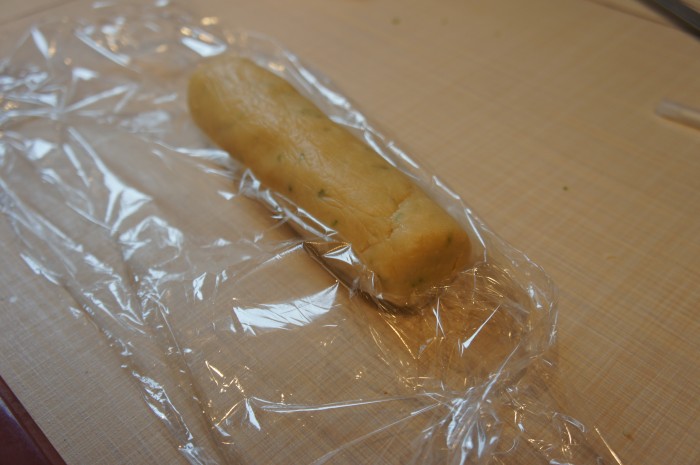
In another bowl, mix together the flour, cornstarch, and salt. Add the dry ingredients to the butter/sugar mixture and mix until combined. Now, the recipe says to roll the dough into two 1 1/4-inch-diameter logs between two pieces of parchment paper. I didn’t have any parchment paper, so I wrapped the dough in plastic wrap and rolled it out in that, which worked just fine. Now, throw the logs in the fridge for an hour to chill.

When you pull out the logs, start heating your oven to 350 degrees. Either grease your cookie sheet a little bit or line it with parchment paper. Put the rest of the powdered sugar (2/3 cup) in a ziploc or other resealable bag. Take the plastic wrap or parchment paper off the logs and slice them into 1/4 inch thick slices. Put the rounds on your baking sheet about 1 inch apart and bake them for about 15 minutes (I turned mine part way through baking because the back right corner of my oven is hotter and I wanted them to be evenly cooked).

Take them out of the oven and transfer them to a wire rack to cool. After cooling for a few minutes, but while they’re still warm, put cookies in the ziploc baggie of sugar 3 or 4 at a time. Seal up the bag, and toss the cookies around to coat them in the sugar. Remove the cookies from the bag and put them on a plate to serve!

Matcha Green Tea Cookies

Matcha Green Tea Cookies

Matcha Green Tea Cookies

Matcha Green Tea Cookies

A little while ago it was my dear friend Rosie’s birthday. She and I met in college and immediately became close friends. Perhaps one of our favorite things to do together was to go downtown to the Tea Zone in the pearl district and get Green Tea Lattes. They were amazing, so creamy and delicious and this beautiful green color. When Rosie studied abroad, I knew she had missed them and brought her a green tea latte when I went to pick her up at the airport.

So like I said, it was Rosie’s birthday, and a few days beforehand I happened to be surfing some food blogs and stumbled across this recipe for matcha green tea cookies. The timing could not have been better. I immediately knew that I had to make these for her. I walked down the street to Tea Chai Te (another wonderful tea shop in Portland) and picked up a couple ounces of matcha (I wanted extra to send to her along with the cookies) and started baking away.

Matcha Green Tea Cookies

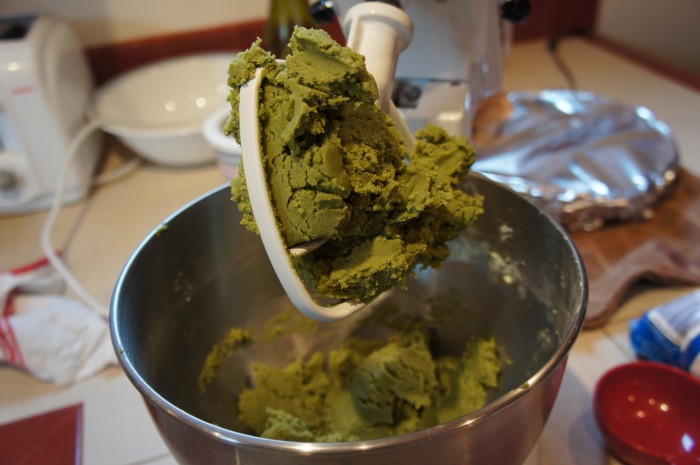
A note about your matcha: the better the quality, the greener it will be! I hope yours is as vividly green as mine was. I’ve never called cookie dough beautiful before. But it was suitable for cookies for Rosie. 

Ingredients

3/4 cup confectioner’s sugar
1 1/2 tbsps matcha green tea powder
10 tbsps unsalted butter, room temperature
1 3/4 cup flour
3 egg yolks
1 cup granulated sugar (to roll the cookies in pre-baking)

Instructions

First, mix together the confectioner’s sugar and the matcha powder. Then add in the butter, and mix thoroughly to cream it.

Now, add in the flour and mix just until is it combined. The thing with shortbread-type cookies is the less you handle them, the better. Now toss in the egg yolks and mix until the dough comes together. It will look a wee bit like play dough, but instead of those obnoxious neon colors it will be a beautiful forest green.

Now you can dump the dough out onto a clean surface (aka counter) and make it into a ball, wrap it in plastic wrap, and refrigerate for at least 30 minutes. When you remove the dough, start preheating your oven to 350 degrees, and dump the sugar into a shallow bowl.

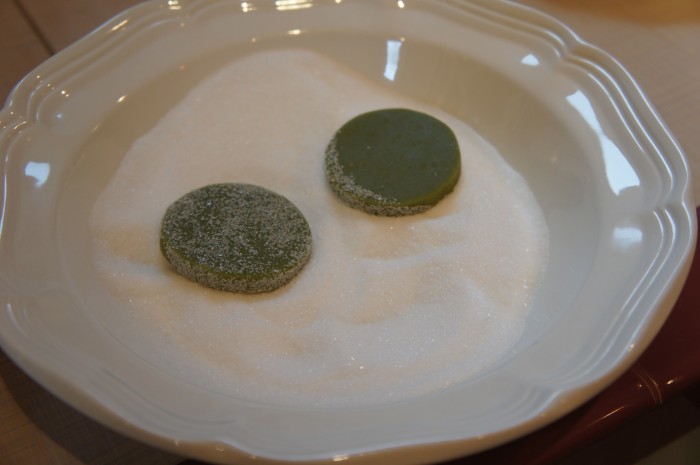
Roll out your dough until it’s about 1/2 an inch thick. Using a cookie cutter that’s about two inches wide, cut out some cookies! This is totally the fun part. Feel free to mash up scraps and re-roll the dough as many times as you wish. The dough actually comes back together really nicely, unlike some other cookies. Anyway, after you’ve cut them out, you can dunk them in sugar and put them on a baking sheet. (If you don’t have awesome baking sheets that everything slides right off of, I might suggest putting parchment paper down.)

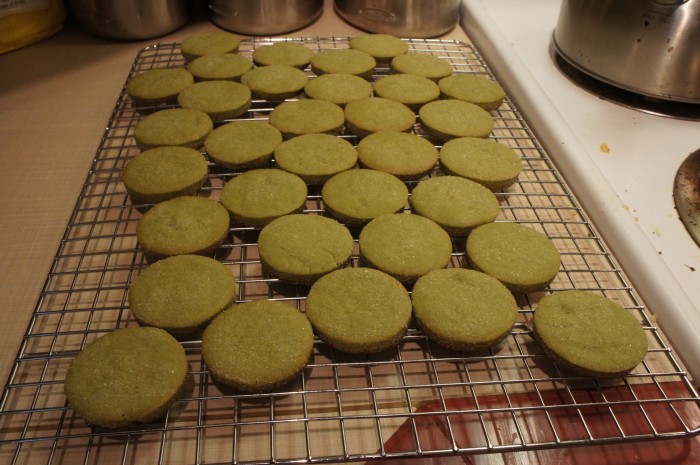
Bake them for 12-15 minutes, or until they just start to turn golden at the edges. Transfer them to a wire rack to cool, and then enjoy! (The website also warns to store them in the shade as the color will fade with exposure to the sun…)

Eggplant with Buttermilk Sauce

Pomegranate seeds for the Eggplant with buttermilk sauce

Eggplant with buttermilk sauce

Eggplant with buttermilk sauce

The posting of the recipe is long overdue, as I made this dish quite a while ago.  So I may not remember the exact details of everything I did to make this – but here goes.  Have I told you about the unprecedented influx of cookbooks in Annie and I’s apartment?  I went from owning exactly zero cookbooks before Christmas and my birthday this year (Jan 6) to having 4.  That’s a 400% increase in cookbooks within the span of a month!  Anyway, Annie’s mom got me this great cookbook called Plenty, that has some fantastically new and different recipes. This is one of them.

A picture of this eggplant with buttermilk sauce recipe is on the cover of the Plenty cookbook, so I decided to make it.  It looked like nothing I had ever tasted before, and that’s what it ended up tasting like!

Eggplant with Buttermilk Sauce

Ingredients

2 eggplants
1/2 cup olive oil
4-6 thyme sprigs
salt and pepper
1 pomegranate (this is the fun part)
For the sauce:
9 Tbs buttermilk
1/2 cup Greek yogurt
1.5 Tbs olive oil
1 small garlic clove, finely chopped
pinch of salt

Instructions

Preheat the oven to 400 degrees. Cut the eggplants in half lengthwise (see photo below). Now cut some lengthwise incisions on each half, but not all the way through to the skin. This is just to let the oil and juices get around. Make some more diagonal incisions (I sort of did this like you would cut an avocado before you scoop the flesh out).

Place the eggplant halves on a baking sheet, and brush them with the 1/2 cup olive oil until it’s all used up.  Sprinkle with some thyme leaves and salt and pepper.  Roast for 45 minutes, when the eggplant flesh should be soft and browned.

While the eggplant is roasting away, let’s do something fun. To get all the seeds out without digging through the fruit like a raccoon, start by cutting the pomegranate in half.  Hold one half over a bowl with the flesh side facing down into your hand (watch out, your fingers are about to get juicy). Use the back of a wooden spoon and start whacking the back of the pomegranate gently, and then with increased force, until the seeds start to fall out into the bowl.  Don’t lose faith if seeds don’t start raining down right away: it takes a minute for them to start getting loose. It helps to flip the pomegranate half over once in a while to gently pull the membranes apart and pick them out. Do the same thing with the other half.

Make the sauce by whisking all of the sauce ingredients together in a small bowl.  I used Greek yogurt that was honey-flavored, which may have been a mistake.

When the eggplant halves are done, serve by spooning plenty of the sauce over the halves.  Sprinkle your expertly-harvested pomegranate seeds on top and garnish with some more thyme and drizzle with a bit of olive oil.

The taste was amazing – a combination of things I have never tasted in combination before!

Pizza Dough (and the pizza to go with it)

Pizza Dough

Pizza Dough

It’s been a rough week (and it’s only Thursday). So what do I do when I’m feeling down? I bake. Come on people, at this point you should know this about me. But with not a ton of time yesterday and not a ton of energy, I didn’t feel up to making some fancy bread, and Jonah and I are trying to cut down on sweets, so no cookies. What’s a baking girl to do?

Pizza dough. Not quite bread, but bread like, and can actually be put to use for dinner. So I ran with it. After finding many recipes online, I started up. The recipe calls for all-purpose flour, but I only had bread flour (Jonah bought me a giant bag, so for the time being I’m using it in the place of any all-purpose flour in recipes, which may or may not be altering things). We’ve bought pizza dough at our local grocery store (New Seasons) and it tends to be kind of halfway between thin crust and a puffier crust. The crust I made was definitely a little more on the doughy/puffy side.

Pizza Dough

Makes 1 full pan pizza dough

Ingredients

3 cups flour
2 teaspoon salt
1 1/2 teaspoon active dry yeast
1 cup lukewarm water (may want to add another 1 or 2 tablespoons)
2 tablespoons olive oil

Instructions

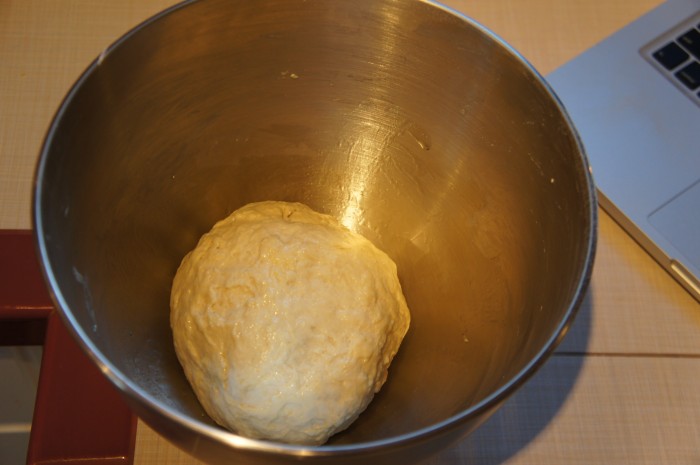
I used an electric mixer to combine the ingredients, but did the kneading by hand. Don’t ask me why, I just felt like it. So, in the bowl of the mixer, combine flour, salt, and yeast. Add the water and olive oil and stir until the dough comes together. Lightly flour a surface (kitchen counters work well) and dump the dough out onto it. Knead the dough for a couple minutes into a nice tidy ball. At this point my dough felt super lumpy, more-so than any other dough I’ve made this far, so I started to worry that this whole thing was going to be a failure. But I kept going because otherwise it would’ve been a waste of time and ingredients. What the hell.

Lightly oil the bowl from the mixer (or any bowl, really, just thought I’d save you a dish), put your ball of dough in and turn it so the whole thing is coated in oil. Cover the bowl with plastic wrap and leave for 1-2 hours, or until it has doubled in size.

After rising, dump the dough back onto the floured surface, punch the air out of it (a great way to take out some aggression, kind of like punching a pillow or pounding chicken), fold it back into a ball, and put it back under the plastic wrap for about 20 minutes. When I hit this point, we still had a couple hours till dinner, so I stuck the dough back in the bowl, covered it, and threw it in the fridge.

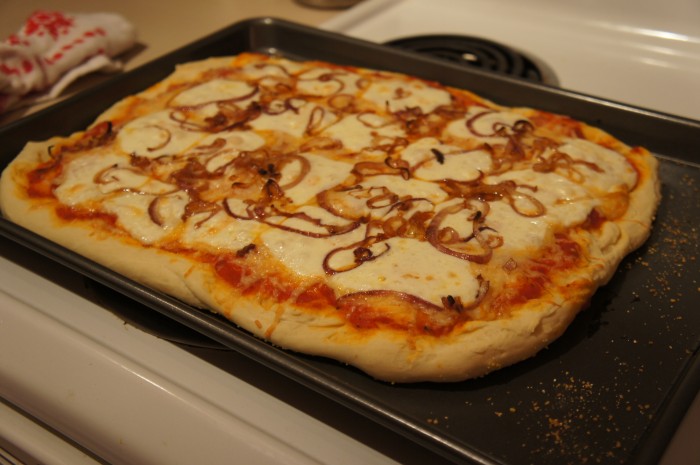
When you’re ready to make your pizza, preheat your oven to 475 degrees (or higher), sprinkle a baking sheet (or pizza stone, if you’re one of those people) with cornmeal, and roll/stretch out your dough on the sheet. This was a little tricky for us, as our dough did not want to be stretched. But I let Jonah beat it up a little and eventually it stayed. We covered our pizza with tomato sauce, italian mix cheese, caramelized onions (you know, that obsession I’ve been having lately), and fresh mozzarella. We baked our pizza for about 15 minutes, though it probably could’ve used a couple more. We were getting hungry. Just look for a little puffing up and some golden brown edges. After removing it from the oven, we sprinkled a little fresh basil on top, sliced it up, and ate it. Delicious.