Blueberry muffins!

Blueberry muffins!

Blueberry muffins!

Before we get to the cooking, let me apologize for having been so long since my last post. I’ve been stage managing a show and we open tonight (!), so the past week and a half have been a bit crazy. I’ve been doing plenty of cooking (baking, mostly), but haven’t had time to actually write on here.

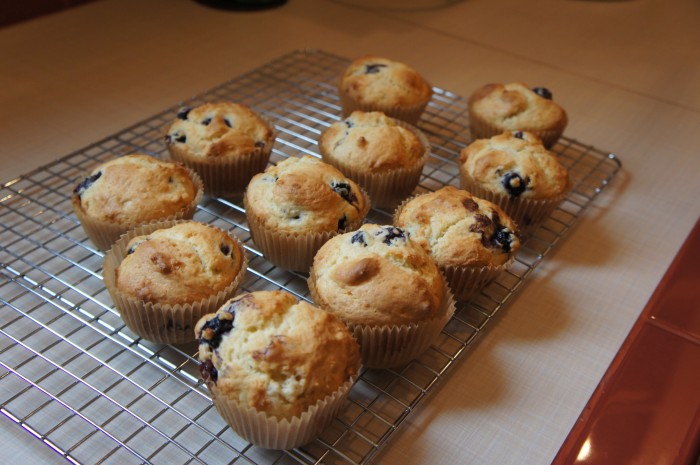
Now onto the food. A few weeks ago, Jonah said to me, “Sometime we should make muffins for breakfast.” He was right. We often eat cereal and yogurt or eggs and toast for breakfast, but we don’t do a lot of pastry/baked goods. So the other day before I headed off for a day of climbing and rehearsal, I jumped on the chance to make us some classic blueberry muffins. After looking in some of our cookbooks and at my favorite blogs, I settled on a recipe from Smitten Kitchen. I wanted muffins that were perfectly moist and had a good blueberry-to-batter ratio, and these were the perfect match.  I always like muffin recipes (and coffeecake recipes) that call for yogurt or sour cream; I love the creaminess and moisture it brings to the food. The original recipe calls for lemon zest too, but we didn’t have a lemon, so I just left it out. This recipe made us a perfect 12 muffins.

Blueberry Muffins

Makes 12 muffins

Ingredients

5 tablespoons unsalted butter , softened
1/2 cup sugar
1 large egg
3/4 cup sour cream or plain yogurt
1 1/2 cups all-purpose flour
1 1/2 teaspoon baking powder
1/4 teaspoon baking soda
1/4 teaspoon salt
3/4 cup blueberries, fresh or frozen (if frozen, don’t bother defrosting)

Instructions

Preheat your oven to 375 degrees. In a mixer (or by hand if that floats your boat) beat the butter and sugar until it’s light and fluffy. Add the egg and comine well, then add the yogurt. In a separate bowl, combine the flour, baking powder, baking soda, and salt, mixing well. Now that you’ve got all your wet ingredients in there, you can start adding the dry ingredients. Add the dry to the wet in 2 batches, mixing well between them. Don’t overmix it though. As always, the less you handle dough/batter, the better.

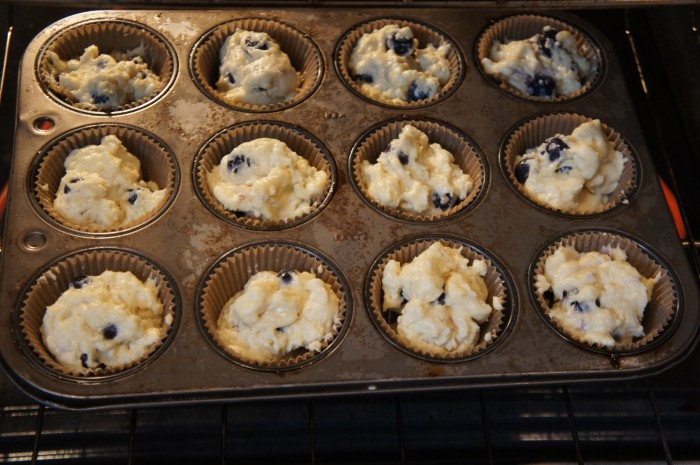
Now the batter will be pretty dang thick, more like the consistency of cookie dough than muffin batter. Don’t worry your pretty little head though! Ours was particularly thick because we used a Greek-style yogurt. This is how it should be. Now carefully fold in your blueberries (or, as the little girl we nanny calls them, blueblerries).

Line your muffin tin with liners or spray them with cooking spray and fill them up to about 3/4 full. Put them in the oven for 25-30 minutes. The tops should be golden and a knife or toothpick should come out clean. Let them cool a bit on a cooling rack and then enjoy! Preferably while still mostly warm with a glass of milk.

Restaurant Review: St. Jack

A while back I picked up Portland Monthly Magazine, the Best Restaurant issue. I look forward to this issue every year so that I can see how many of Portland’s top restaurants I’ve eaten at and which ones I need to get to. At the top of last year’s list was a restaurant called St. Jack. I’d heard of it before, but hadn’t read about it until the magazine. I’d also noticed it because it’s right near Jonah’s office, so I would pass it whenever I dropped him off on my way to work. I was very excited when my Dad came to town and we decided (well, I decided really) to go there for dinner.

St. Jack

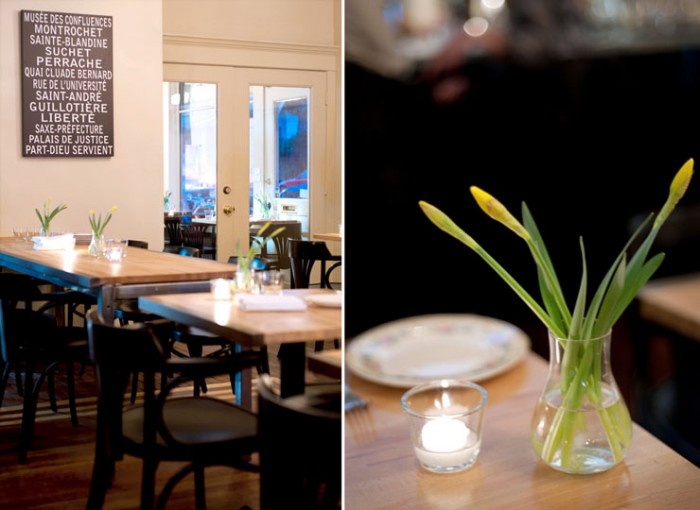
After reading the menu probably about 10 times, I made a reservation. We showed up and were seated at a table in the back. The interior of the restaurant was so lovely. Simple and clean, with little artistic and crafty touches, like the giant wax candle towers on the back bar. I was particularly excited to eat here because one of the things I’d heard about St. Jack is that they have really good original cocktails. My dad and I both got the Guillotine (rum, cointreau, lemon, housemade grenadine, and absinthe), which was wonderful! It was a really refreshing drink, and a little bit wintery, which I like this time of year (unlike Jonah’s very delicious French Pearl, which was mint, gin, lemon, and sugar).

As for appetizers, we got two of the Salad Lyonnaise, a salad of frisee, bacon lardons, bacon fat croutons, and a poached egg. I absolutely loved this salad (since we can’t make bacon in our apartment I’m super into bacon when we eat out). It was warm and delicious and a little tart. We also got the pommes frites and the Cervelle de Canut, which was like a mixture of cheeses and herbs served with bread. For dinner, I got the Coq a la Biere, a half a chicken braised in ale with veggies underneath. Jonah ordered some steak, Dad got the trout, and Darla got the onion tarte. All of these dishes were splendid, but a consensus was reached that my chicken was the best (Yes! I won!).

St. Jack

For dessert we ordered the madeleines, which are baked to order. I had never actually had madeleines before, and I thought these were delicious. Simple and light with a touch of lemon. A lovely end to the meal.

Overall, our experience was great. The waitstaff was very friendly and helpful. The atmosphere was perfect: enough noise so you don’t know the place is dead, but not a roar. It was a peaceful, relaxed meal of thoughtful, delicious food. I would highly recommend this restaurant if you’re on the search for a romantic evening or a slightly fancy dinner. I loved it!

Photos from St. Jack’s website.

This meal is brought to you by Alice Waters

This meal is brought to you by Alice Waters

This meal is brought to you by Alice Waters

This meal is brought to you by Alice Waters

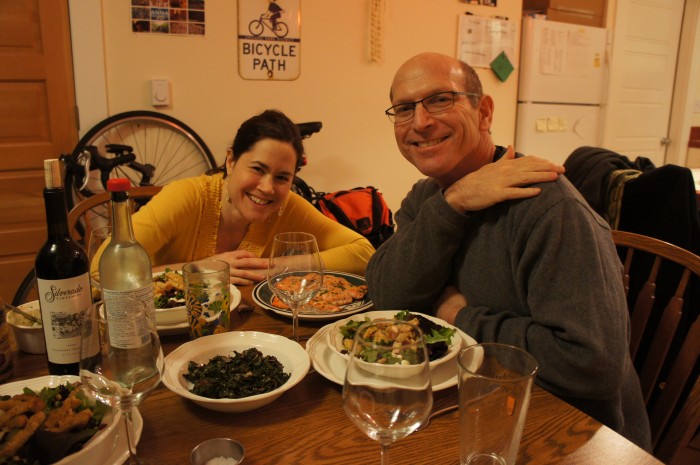
This past weekend my dad and his girlfriend came down to Portland to visit me and Jonah. They had given Jonah a cookbook, “The Art of Simple Food” by Alice Waters, for his birthday, and so we decided to make them a full meal straight out of the book as a little thank you. If you don’t know who Alice Waters is, she’s a chef at a restaurant called Chez Panisse in Berkeley, CA. The restaurant is known for organic, local ingredients and simple cooking. She has written about a million cookbooks. Anyway, for dinner we made: salad, Baked Wild Salmon with Herb Butter, Chard with Butter and Parmesan, and Roasted Butternut Squash for dinner. It was quite a meal. I’ll do one recipe at a time here so they aren’t all intertwined. Make things a little easier.

The meal was really delicious, fresh tasting, and best of all, SIMPLE. I guess the title of the cookbook doesn’t lie. These vegetable dishes were really filling and would make a great vegetarian meal. Enjoy!

Herb-Butter Salmon, Roasted Butternut Squash, and Chard with Parmesan

Ingredients

Herb-Butter Salmon

1 stick of butter at room temperature
1/2 cup chopped herbs (we used parsley, chives, and tarragon)
1 finely chopped garlic clove
a squeeze of lemon juice
salt
pepper
cayenne
1-1 1/2 pounds wild salmon fillet

Roasted Butternut Squash

2 small butternut squash
1 medium shallot, coursely chopped
4 cippolini onions, peeled and quartered
about 1 Tbl of roughly chopped (or torn) sage leaves
olive oil
salt

Chard with Parmesan

one bunch of Chard
2-3 Tbl butter (depending on how buttery you want your chard)
1/2 – 1 cup of grated parmesan cheese

Instructions

Herb-Butter Salmon

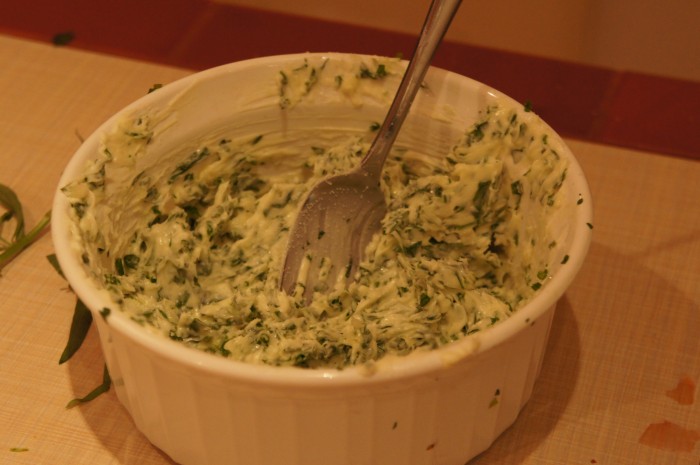
Preheat the oven to 425 degrees. Stir the ingredients for the herb butter in a small bowl. Add lemon, cayenne, salt, and pepper to taste.

Season the salmon with salt and pepper. Oil a baking dish/sheet and put the salmon on skin side down. Drizzle the fish with oil. Bake 7-10 minutes, until the flesh is “just set and still pink in the center.” After taking the salmon out of the oven, spoon some of the soft herb butter over each piece of fish, and put the rest in a small bowl on the table.

Roasted Butternut Squash

Preheat your oven to 350 degrees. Peel the squash, cut in half, and remove the seeds. Cut the squash into 1/2 inch pieces. Throw them into a baking dish with the chopped shallot, cippolini onions, and sage. Drizzle with olive oil and sprinkle with salt. Pop the dish into the oven for about an hour and a half, stirring about halfway through. Test the doneness of the squash before taking it out of the oven to make sure it’s cooked through.

Chard with Parmesan

Remove the leaves from the ribs of the chard, wash the leaves, and cook them in salted boiling water. When the leaves are tender, about four minutes, drain them in a colander and allow to cool, then squeeze out the excess water.

In the same pot you used to cook the chard, melt the butter over medium heat. While the butter is melting, roughly chop the chard. Add the chard to the butter and heat through. Stir in the parmesan, remove from heat, and serve! Sometimes I’m a little skeptical of cooked leafy greens (the texture can be a little slimy for me) but I really enjoyed this. I was careful not to overcook the chard, and the butter and cheese certainly added to the flavor. Because really, what doesn’t taste good with butter and cheese on top?

Red Velvet Cupcakes

Red Velvet Cupcakes

Red Velvet Cupcakes

Red Velvet Cupcakes
Red Velvet Cupcakes

The other day I was hanging out with my dear friend Erica. She was craving some red velvet cupcakes, and so, like a good friend, I told her I’d make her some. That’s right. That’s what friends do for each other. We make cupcakes.

I had never made red velvet cupcakes before, or really thought about what’s in a red velvet cupcake, so I was a little surprised when I started doing research. Cocoa powder, LOTS of red food coloring, buttermilk and white distilled vinegar? Uh… ok. I found a wonderful recipe on a great blog called Ming Makes Cupcakes. I’d made cupcakes from this site before and the pictures are so pretty. I really can’t wait to try more. I ended up doubling the recipe (I wanted to make more than 12 cupcakes!) except the food coloring, which I didn’t double because I didn’t have anymore and one little bottle seemed like enough. However I didn’t double the frosting because it seemed like it’d be enough, and it was!

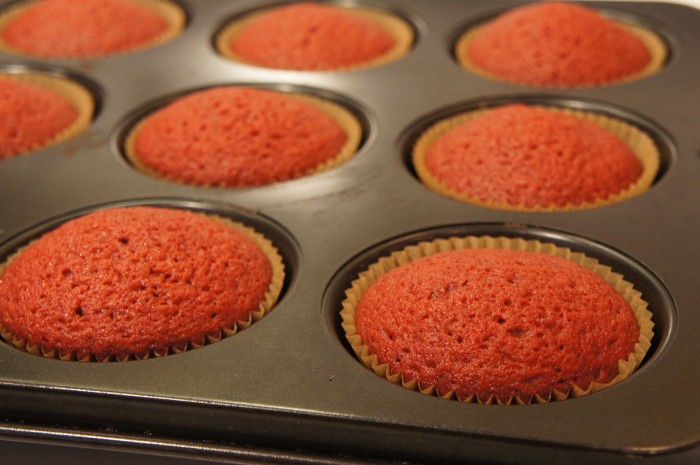
Anyway, I packed them up and took them to rehearsal (for the show I’m in with that friend, Erica) and they were a huge hit! Nice and moist, good frosting to cupcake ratio, and perfectly red. They were a little bit oily for me, so I think next time I might try bringing down the amount of oil. Also, I wouldn’t have minded if they had been a teensy bit chocolatier. Oh well, some things to play with for next time. They were still incredibly delicious. Enjoy!

Red Velvet Cupcakes

Ingredients

Cupcakes

2 1/2 cups flour
1 1/2 cups sugar
1 tsp baking soda
1 tsp salt
2 Tbl cocoa powder
1 1/2 cups vegetable oil
1 cup buttermilk
2 eggs
1 Tbl red food coloring
1 tsp white vinegar
2 tsp vanilla

Frosting

1 stick butter, room temperature
2 1/2 cups confectioner’s sugar
1/4 cup milk
1/2 tsp vanilla

Instructions

Cupcakes

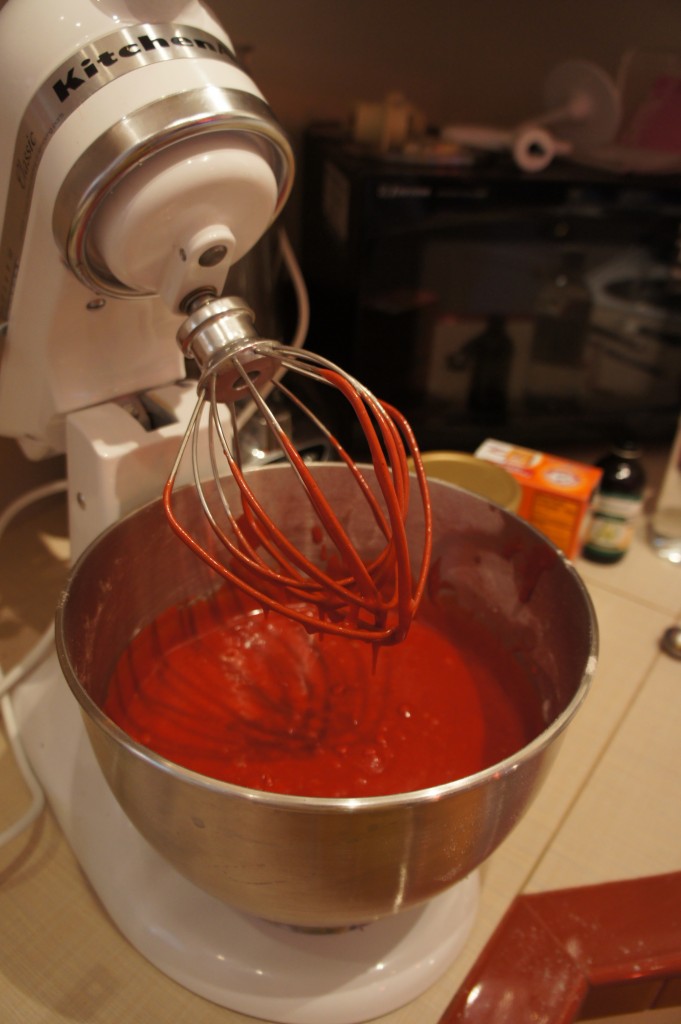
Preheat your oven to 350 degrees. In a bowl, combine the flour, sugar, baking soda, salt, and cocoa powder. In an electric mixer, combine the dry ingredients: oil, buttermilk, eggs, food coloring, vinegar, and vanilla. Now, slowly add the dry mixture to the wet mixture. I did it in batches, just to make sure it was getting thoroughly blended with no clumps!

Put cupcake liners in your cupcake pan and fill them up with batter. I found that you could actually fill them pretty full. These cupcakes don’t rise a ton, so I filled them up probably 3/4 of the way. Now bake them for 25 minutes, or until a toothpick inserted comes out clean.

Frosting

While the cupcakes are cooling, clean out your mixer bowl, put it back together, and beat the butter until it’s light and fluffy. Add the sugar, milk, and vanilla, and beat until the consistency looks like frosting. If it’s too dry, add a little more milk. If it’s too wet, add a little more sugar.

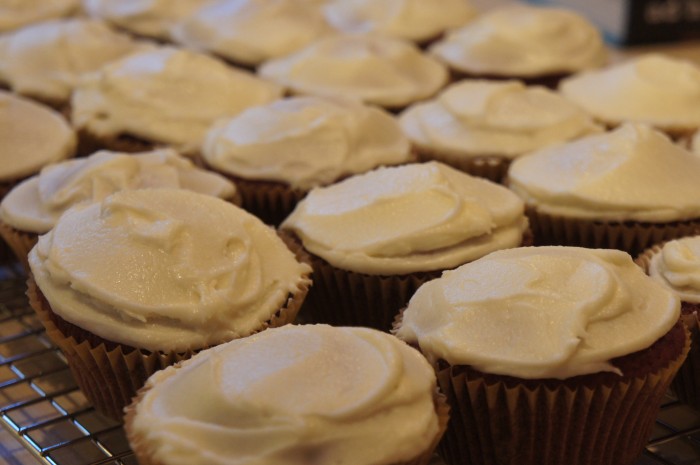
Time to frost them. I started out not using too much frosting because I wanted to make sure there was enough for all of them, but there was plenty to go around. I love icing cupcakes, making the tops look like they would at a little bakery… So fun.

Spaghetti and Meatballs with Molly!

Spaghetti and Meatballs

Spaghetti and Meatballs

Spaghetti and Meatballs

Spaghetti and Meatballs

Last weekend, my baby sister came down to Portland to visit me and Jonah (as well as some of her college friends who live here). On Saturday night she came over for dinner, and we whipped up a quick and delicious spaghetti and meatballs. The sauce recipe came from my Cook’s Illustrated Cookbook and the meatball recipe came from Martha Stewart.

This pasta was actually way better than I anticipated it being for how easy it was. The sauce was really light and simple, which was a good balance for the meatballs which were a little creamier (because of the parmesan and milk and bread). It was filling and delicious and made for good leftovers. Enjoy!

Spaghetti and Meatballs

Ingredients

Tomato Sauce and Pasta

3 Tbl olive oil
2 cloves of garlic, minced
1 (28-ounce) can of diced tomato
2 Tbl (or more) of course chopped fresh basil
1/2 tsp salt
1/4 tsp sugar
1 lb spaghetti

Meatballs

8 ounces ground beef
8 ounces ground pork
1 garlic clove, minced
1/2 cup finely grated Parmesan cheese
3 tablespoons parsley, finely chopped
2 large eggs, lightly beaten
Coarse salt and freshly ground pepper
1 1/2 slices white bread (Martha says to just tear the bread up into small pieces, which we did, but I think it would have been better if we’d thrown it into the food processor because then it would’ve been in smaller pieces)
1/4 cup milk

Instructions

Tomato Sauce and Pasta

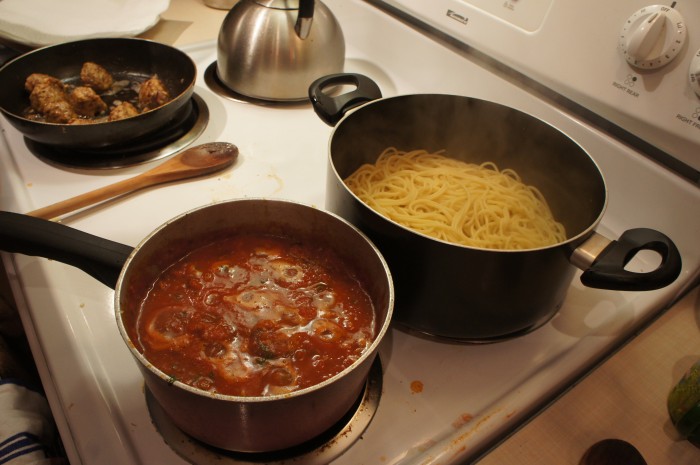
First, make the sauce. Heat 2 Tbl of oil and the garlic in a saucepan over medium heat. Cook the garlic until it’s golden, but not too brown, a few minutes. Add the tomatoes (including their juice, of course) and bring to a simmer. Cook until the mixture is slightly thickened, about 10 minutes. Remove from heat, then add the basil, sugar and salt. We didn’t want our sauce too chunky, so before adding the basil, we blended it a little bit with a hand blender. While we were making the sauce, we also cooked the pasta alongside.

Meatballs

In a bowl, combine the beef and pork (using your hands). Add the garlic, cheese, parsley (we didn’t have any so we skipped that part), and eggs. Season with 1 1/4 tsp salt and some pepper. While you’re adding all these things, soak the bread in the milk for a few minutes, then stir into the meat.

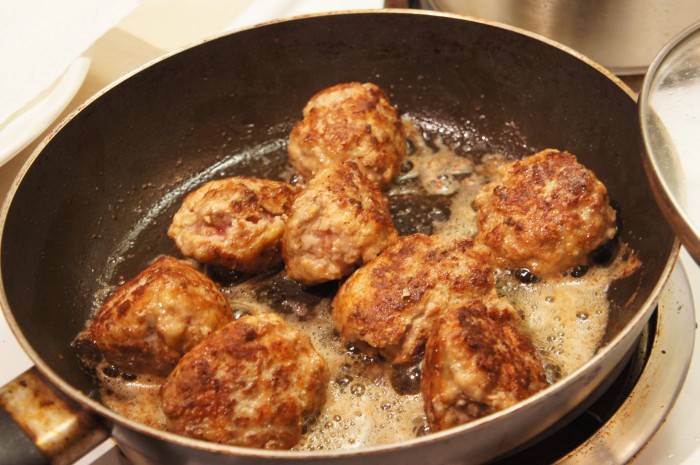
Now roll the meat into 1 1/2 inch balls. The recipe also said to refrigerate them for 1 hour, which probably would have helped them hold their shape, but whatever. We were hungry. So we just heated a couple tablespoons of olive oil in a pan over medium-high heat. Cook the meatballs until browned on all sides (6-ish minutes) and then transfer them to the simmering sauce. This is where they’ll actually cook through. Be sure to check and make sure they’re done by just cutting a meatball open.

Drain your pasta a teensy bit before it’s fully cooked (if you haven’t already at this point) and put it back in the pot. Add the pasta sauce and meatballs to the pasta and cook a little bit longer in the sauce. According to Molly, this is what Anthony Bourdain says to do. I trust that guy. And serve!

Serve it up and garnish with some fresh basil and parmesan cheese!