
My sister recently made me aware that my strawberry rhubarb pie recipe – the one that really inspired me to start this blog in the first place – wasn’t on this website. How could that be?! The time is right to tell you the story behind it, seeing as this weekend is Father’s Day and it’s rhubarb season.
Growing up, my father was a produce aficionado. He snacked on radishes like they were popcorn, and his perfect dessert was a bowl of the ripest berries. My dad’s love of fresh ingredients got me excited about food at a young age, and cooking became a pillar in our relationship. It still is – every time we talk we brag about dishes we’ve made, the latest cookbooks we’re itching to buy, and restaurants we’ve tried lately.
When I was in high school, we decided to spend a summer on a quest for the perfect strawberry rhubarb pie. We read probably a hundred recipes, and baked a pie a week. For the crust we experimented with vodka and leaf lard. To perfect the filling we adjusted our rhubarb to strawberry ratios and tried different spices like ground ginger and orange zest. We refined our technique for rolling out the dough, and watched through the oven door as juices bubbled through cracks in the crust. After cooling on the counter for hours, the first bite was always exhilarating. When we finally landed on the recipe, it was obvious as soon as we tasted it – the crust was tender and flaky, the filling was a soft rosy pink dotted with strawberry seeds, and there was a perfect balance between sweet and tart.
Five years later, my dad was diagnosed with cancer. We went through a trying year of chemotherapy and surgery. It was hard to see someone who loves food barely able to eat, much less enjoy eating. I’ll always remember when I was with him while he was getting a blood transfusion, and I went to the vending machine for a snack. I came back with a bag of Wheat Thins. He tried one and said it tasted good, so I gathered up all of my loose change and bought every bag in the vending machine so he could eat them. His recovery took place mostly in the late spring – the beginning of rhubarb season. The day he asked me to make him our strawberry-rhubarb pie, I knew he was back.
These days, I like to think that strawberry-rhubarb pie is my specialty. I’ve found a new dough recipe (the one you see below) that I like even better than the one my dad and I decided on twelve years ago. Making this pie is relaxing, almost therapeutic. Slicing up the fruit, rolling out the dough – all of it is a ritual that I treasure returning to each summer. Not only do I love making this pie, but it’s representative of my relationship with my dad and the things we both value: sharing delicious food with the people we love the most. It will always remind me of him, and the time we spent on the hunt for the perfect pie. Happy Father’s Day, dad. Here’s to many more rhubarb seasons.
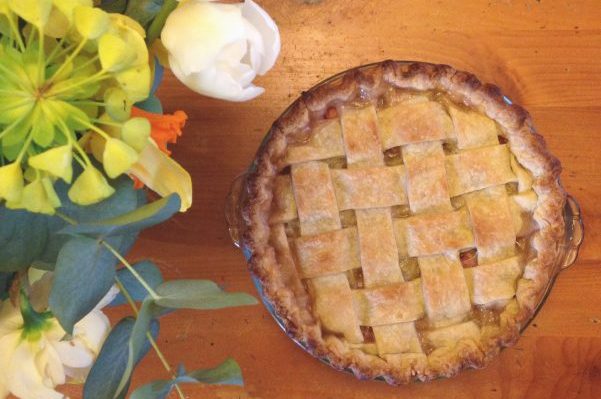
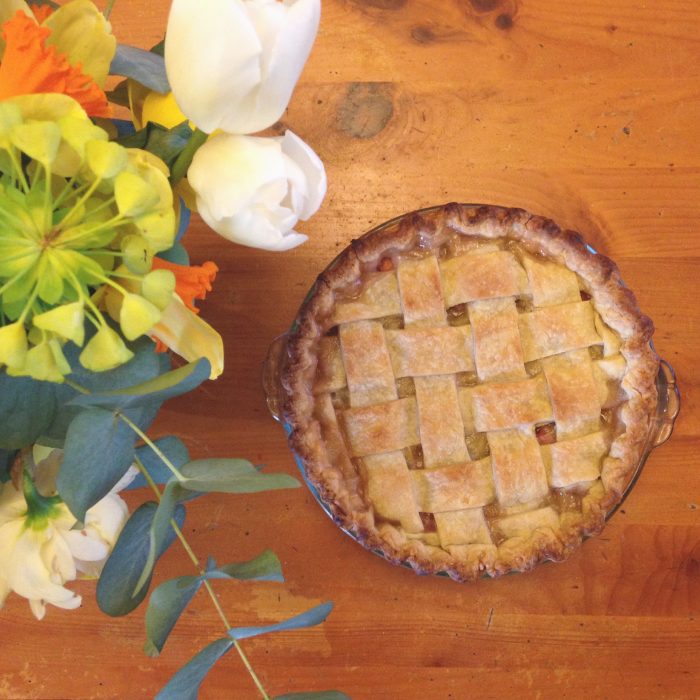
Strawberry Rhubarb Pie
Note: As is often the case with pastry type dough, the colder it is and the less you handle it, the better. I like to keep my shortening in the freezer so it is very cold, and the butter in the fridge.
Another Note: This pie is JUICY. It tastes delicious as ever, but I have never made a strawberry rhubarb pie that actually firmed up without tasting too much like flour or corn starch. I’d rather have a juicy pie that packs a punch rather than being muted by various starchy ingredients. The amount of cornstarch you add will be based on how juicy your fruit is – for example, if you bought your strawberries at the farmer’s market in the height of strawberry season, you’ll want to add more, whereas if you bought them at a big box grocery store in December, you won’t need as much.
Ingredients
Pie Dough
2 ½ cups flour
1 tsp kosher salt
2 Tbsp granulated sugar
12 Tbps (1 ½ sticks) unsalted butter, cold, cut into chunks
½ cup vegetable shortening, cold, cut into chunks
3-8 Tbsp ice water
Strawberry Rhubarb Filling
4 cups rhubarb, sliced into ½ inch pieces
3 cups strawberries, stemmed and quartered
1 cup sugar
3-5 Tbl cornstarch
Instructions
Pie Dough
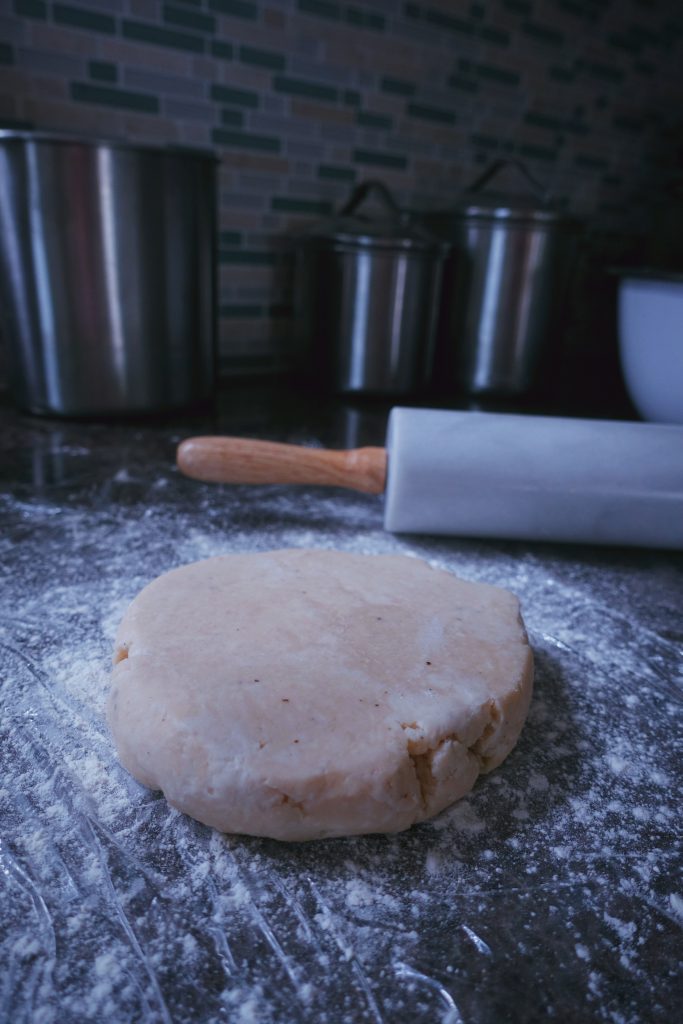
Combine the flour, salt, and sugar in a food processor, pulse to distribute. Add the butter, pulse until evenly combined. Add the vegetable shortening, and do the same, pulsing until evenly combined. Your dough will start to clump together, but you will still have loose flour. Add 3 tablespoons of ice water and pulse. If your dough isn’t coming together quite yet, add more ice water a tablespoon at a time, pulsing after each addition. You want the dough to just start to come together. Dump the dough out onto floured surface and form a ball, cut it in half, and form two discs (roughly 1-1 ½ inch thick). Wrap discs in plastic wrap and refrigerate for at least 1 hour and up to 2 days. You can also freeze the dough for later use.
Strawberry Rhubarb Filling
Combine the rhubarb, strawberries, sugar, and cornstarch in a large bowl.
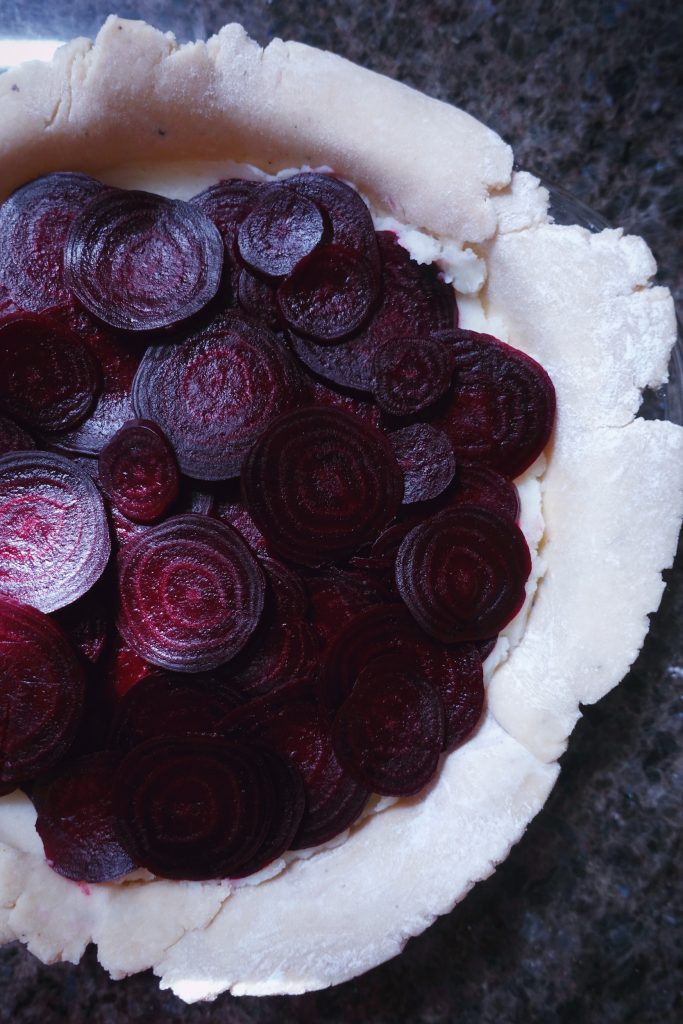
Preheat your oven to 450° F. Lightly grease a 9-inch pie dish with butter and dust with flour. Roll out your pie dough until it’s a circle about 12 inches wide. I like to set the plastic wrap that the dough was wrapped in underneath when I roll it out, as it helps lift it into the pie dish. Transfer your dough to the pie dish and ease it into the corners of the dish. Fill with the strawberry-rhubarb filling. Roll out the second disc of dough, and cover the pie. Trim off excess dough, pinch together the edges, and cut vents in the top of the pie. Place pie on a rimmed baking sheet lined with foil, and then into the oven.
Bake for 10 minutes at 450°F, then reduce heat to 350°F and bake for another 50-70 minutes, or until the crust is golden brown. Allow to cool for at least 3 hours.