Tag: easy

Gingered Rhubarb Crisp

Rhubarb
Rhubarb

Rhubarb

You know what has started? Our neighborhood farmer’s market! I couldn’t be more excited. Jonah and I walked over for the first time and bought some sweet little carrots and some of the most beautiful rhubarb I had ever seen in my life. Seriously.

Now, for those who know me, you are award I have an obsession with rhubarb. If you don’t know me, well…now you know that much more. Strawberry rhubarb is my dad’s favorite kind of pie, and he and I spent one summer searching for the perfect recipe. We made probably a pie every other week. And we found what is, in my opinion, the best recipe. I still haven’t decided if I’m going to give you the filling recipe, but if I do it will be later. I’ve already given you the pie dough recipe.

This recipe, however, is one that my older sister discovered a few summers ago. It’s perfect for a) not having any strawberries, but having lots of rhubarb and b) wanting rhubarb dessert but not having enough time to make a pie. That shit’s time consuming. It’s so delicious: the ginger really brings out the tartness of the rhubarb, and I love the nuts in the topping. I halved the recipe because we all know what happens when there’s extra dessert lying around (hint: it ends up in my belly).

Gingered Rhubarb Crisp

Ingredients

Rhubarb Filling

Vegetable oil spray or butter wrapper (see instructions)
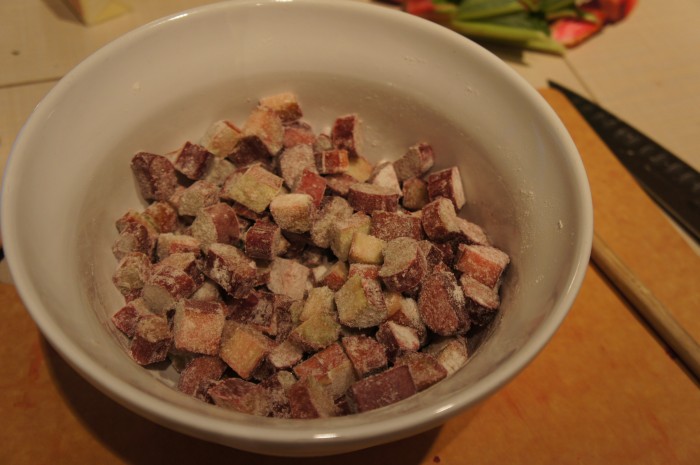
3 pounds rhubarb, cut into ½-inch chunks
¼ cup plus 1 tablespoon flour
½ cup sugar
½ teaspoon ground ginger

Crumble Topping

¾ cup all-purpose flour
¾ cup old-fashioned oats
¾ cup packed light brown sugar
¾ cup chopped walnuts
¾ teaspoon ground ginger
6 Tablespoons unsalted butter, melted

Vanilla ice cream, whipped cream, or plain Greek yogurt for serving (I wish we’d had Greek yogurt… sounds so good).

Instructions

Rhubarb Filling

Preheat your oven to 375 degrees and spray an 8- by 8-inch baking pan lightly with the vegetable oil spray and set aside. If you don’t have vegetable oil spray, take the wrapper from the butter you use in the recipe and just rub the pan with that. Jonah and I keep a stash of butter wrappers in our fridge for this exact reason.

Stir the rest of the filling ingredients (rhubarb, flour, sugar, and 1/2 tsp ground ginger) in a mixing bowl until the fruit is nicely coated with the flour. Spread the rhubarb evenly in the pan and bake it in the middle of the oven for 20 minutes.

Crumble Topping

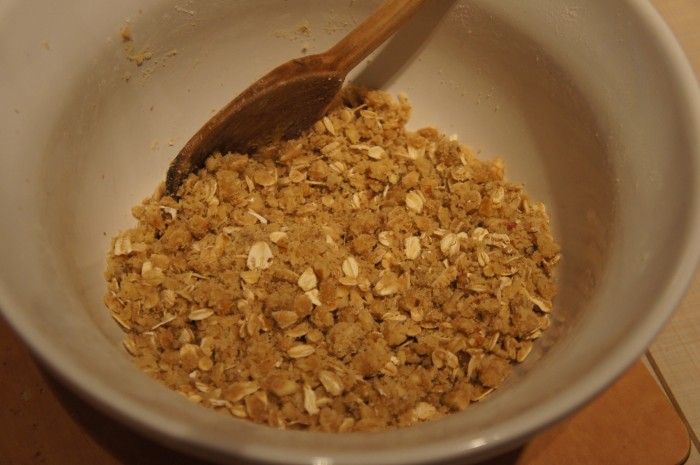
While the fruit is baking, make the crisp topping (you can use the same bowl you used for the fruit – I’m all for fewer dishes): Mix all the topping ingredients except the butter together in the bowl. Pour the melted butter over the dry ingredients, and mix thoroughly until all the ingredients are evenly moistened. With the melted butter. That’s right.

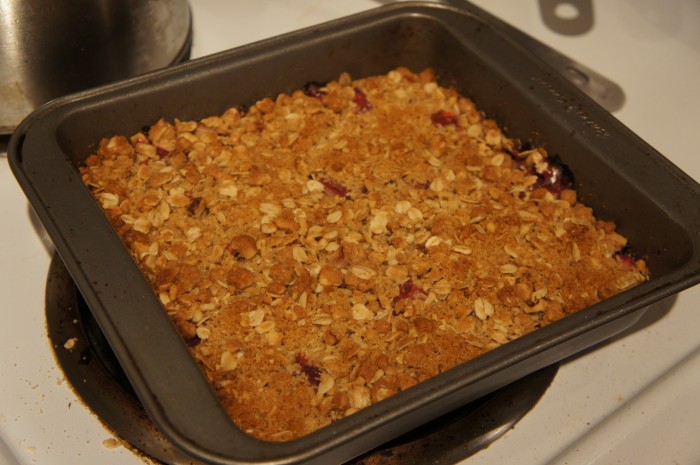
Take the pan of rhubarb out of the oven and spread the topping in an even layer over the fruit. It’s probably a good idea to put the pan on a baking sheet (maybe even lined with foil) to catch any drips. Or just do it in a bigger pan. That’s up to you I guess. Anyway, bake it for another 30 minutes or until the topping is golden brown and the filling is bubbling. Serve warm with ice cream, whipped cream, or Greek yogurt.

Lemon Rosemary Palmiers

Lemon Rosemary Palmiers

Lemon Rosemary Palmiers

Lemon Rosemary Palmiers

When I say palmiers, doesn’t something incredibly fancy and impossible to make come into your mind? It does for me. If the name is so French that Jonah can’t say it, it’s gotta be tricky. (Every time I told him I was going to make these, Jonah asked “What’s a palmier again?”) But that is so not true. Especially when you’re just going to use your leftover puff pastry from that beet tart you made… Seriously. So easy.

I found these on Joy the Baker and have been dying to make them. They’ve been calling my name from my Pinterest food board. I adapted the recipe and the method a teensy bit.

Lemon Rosemary Palmiers

Ingredients

1 package puff pastry
3/4 cup of sugar
zest of 1 large lemon
1 teaspoon finely chopped rosemary (fresh is better, but dried will do just fine)

Instructions

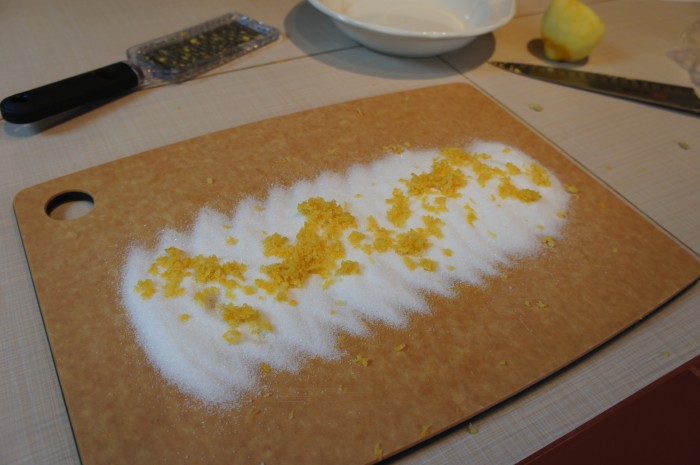
Finely chop the rosemary and set aside.  On a clean, flat surface rub lemon zest into the sugar using a bench knife (if you have one) or the back of a spoon (that’s more like it).  Put the sugar in a bowl and set aside. Unfold the thawed puff pastry onto a lightly (very lightly) floured surface and roll it out a little bit. You don’t need it too much bigger, just like an inch on each side is good. Move the puff pastry somewhere else, sprinkle the surface with about 1/3 of the lemon sugar, and then put the puff pastry back on top of it, pressing it down a bit to get the sugar to stick. Once the puff pastry is down, spread the rest of the sugar and the rosemary over the surface.

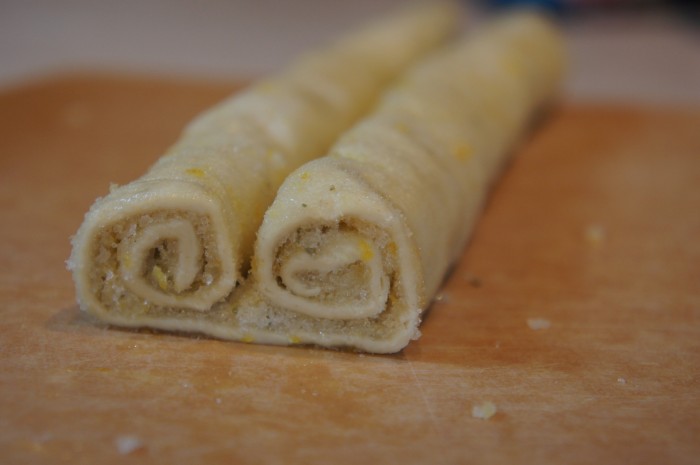
Now tis time to roll. Roll the long side in towards the middle. Then roll in the other long side to the middle. Gently press the sides together so they stick a little bit (though the outside will be covered with lemon sugar, so mine didn’t stick crazy well). Wrap this in plastic wrap and refrigerate it for about an hour, or until it’s cold and relatively firm.

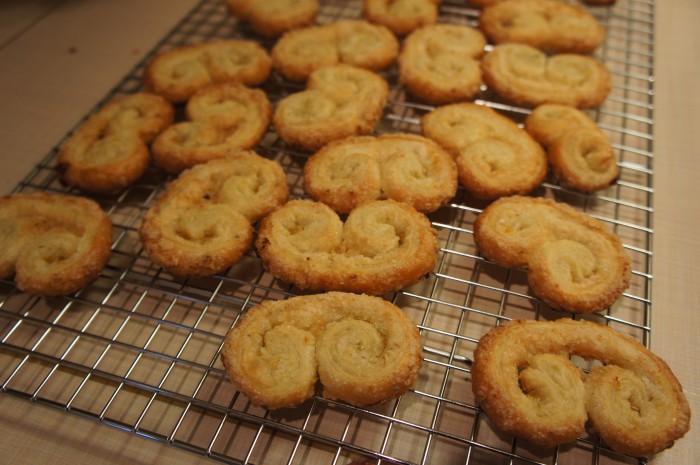
Preheat your oven to 400 degrees. Remove dough from the fridge and slice in about 1/2-inch thick slices.  Place on lined baking sheet (think silpat or parchment paper – I used foil and buttered/floured it, which work well).  Bake for 10 to 15 minutes of until golden brown.  You’ll probably want to rotate the baking sheet halfway through baking.  Keep a close eye on the cookies after about 11 minutes.  They might burn quickly because of all the sugar. Actually, because of the burning sugar, I replace the foil between each batch so it didn’t smoke. Remove the palmiers from the pan pretty much immediately after baking, and put them on a wire rack to cool. Once they’re cool, dig in and enjoy!

Easy Peasy Cranberry Scones

Cranberry Scones

Cranberry Scones
Cranberry Scones

The other morning, before Jonah went to work, I decided to whip up some cranberry scones. There is no better way to start your day than with a fresh, warm, baked good. I found an easy recipe on Martha’s website (marthastewart.com) that didn’t require me to go out and buy anything, so it’s the one I went with in the end. Although, I’ll tell you it did call for fresh cranberries, but I substituted dried because it’s what I had.

Cranberry Scones

Makes 8 scones

Ingredients

2 cups all-purpose flour, plus more rolling out
5 Tbl sugar, plus 1 tablespoon for sprinkling atop
1 Tbl baking powder
1/2 tsp salt
6 Tbl chilled unsalted butter, cut into pieces
2/3 cup, plus 1 tablespoon milk or half-and-half
1/2 cup cranberries (halved if fresh, or dried)

Instructions

Preheat your oven to 425 degrees. I used my food processor, and combine flour, 5 Tbl sugar, baking powder, and salt. Add in the butter and pulse until you’ve got coarse crumbs. Now pour in 2/3 cup milk and pulse again until the dough comes together.

At this point, I dumped my dough out onto a floured surface and folded in the cranberries by hand by throwing them on top in a pile and then kneading the dough a few times. Now pat the dough into a 1-inch-thick disc. Cut the disc into 8 wedges and put the wedges on a baking sheet a couple of inches apart. Brush the tops of the scones with the remaining milk and sprinkle with the remaining sugar. Bake them for 12-15 minutes or golden brown.

After removing the scones from the oven, transfer them to a wire rack to cool. But don’t wait too long to eat them! These are best warm with some butter, jam, and accompanied by a nice mug of tea. Enjoy!

Another Easy Bread Recipe

Bread
Bread

Bread

It has been so long since I’ve posted. I’m so sorry. It’s been a little busy around here! Here’s what I’ve been up to: applying for a new job, getting a new job (doing social media for a local nutritionist), going to a big scary audition (and a big scary callback, with another one tomorrow night), and having Jonah’s mom and sister in town!

I know, excuses excuses! But hopefully this post is me getting back in the saddle. So this is another venture into the world of bread. I promised myself that I would finally make a starter, but of course, I didn’t because we’ve been so busy. Maybe next week? Or something?

Anyway, this bread is easy. Easier than all the other breads. No kneading, no let it rise, beat it down, let it rise again, do all this fancy stuff. Put everything in a bowl, let it rise, split it up, let it sit again for a bit, then bake. Can it get any easier? I’m gonna go with…not really.

No Knead Bread

Makes 2 loaves

Note: I didn’t want 3 loaves of bread, so I made 2/3 of the recipe. I’ll give you the full recipe though, and you can decide how much you want to make! I’ll put the amounts I did for 2/3 of the recipe in parentheses.

Ingredients

3 cups lukewarm water (2 cups)
1 1/2 Tbl granulated yeast (1 Tbl)
1 1/2 Tbl kosher or other course salt (1 Tbl)
6 1/2 cups unbleached all purpose flour (4 1/3 cups)
a handful of cornmeal for the pan

Instructions

Ok, put the yeast, flour, and salt in a bowl (I used my electric mixer with the dough hook). Pour the water over the dry ingredients and mix until it’s combined, a few minutes. Now cover your mixing bowl with foil or oiled plastic wrap and let it rise for 2-5 hours (I went with 5 because I was out doing stuff all day).

Now, cover your counter with PLENTY of flour. The dough is crazy sticky and wet, so be prepared for that. Dump it out onto the counter and separate the dough into however many loaves you’re making (original recipe: 3, my recipe: 2). Spread your handful of cornmeal over you baking sheet. Using lots of flour, form the dough into balls and place them on the baking sheet. The easiest way to form the balls is to pull the edges of the dough and tuck them underneath. Hopefully that makes sense. Once they’re on the baking sheet, you can let them rest for 30 minutes.

About halfway through the resting process, preheat your oven to 450 degrees. Once they’re done resting, slash your loaves with 3-4 lines. You can do whatever design you like, as long as you do something! The slashes allow the loaves to expand while they’re baking in a kind of designated way rather than just exploding however they want. When your oven is heated, put the loaves in! On a lower rack, put a pan filled with about 1 cup of water. This will create steam which will make the crust crispier. Bake the bread for 30-35 minutes.

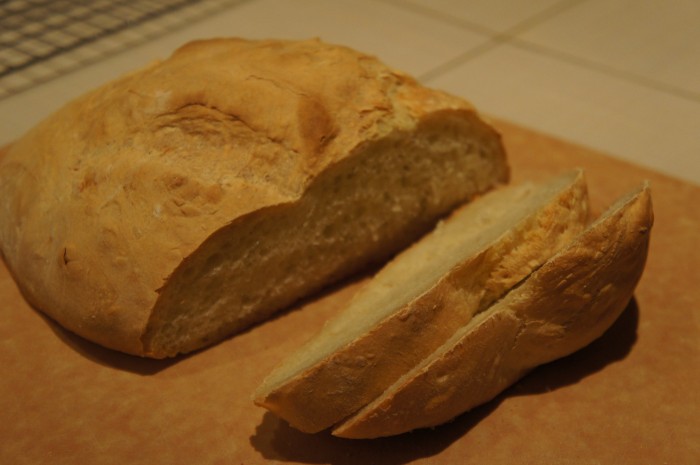
After removing the bread from the oven, put it on a wire rack to cool. Try to let it cool all the way before cutting a slice, slather it in butter, and chowing down. Enjoy!